Happy Friday everyone,
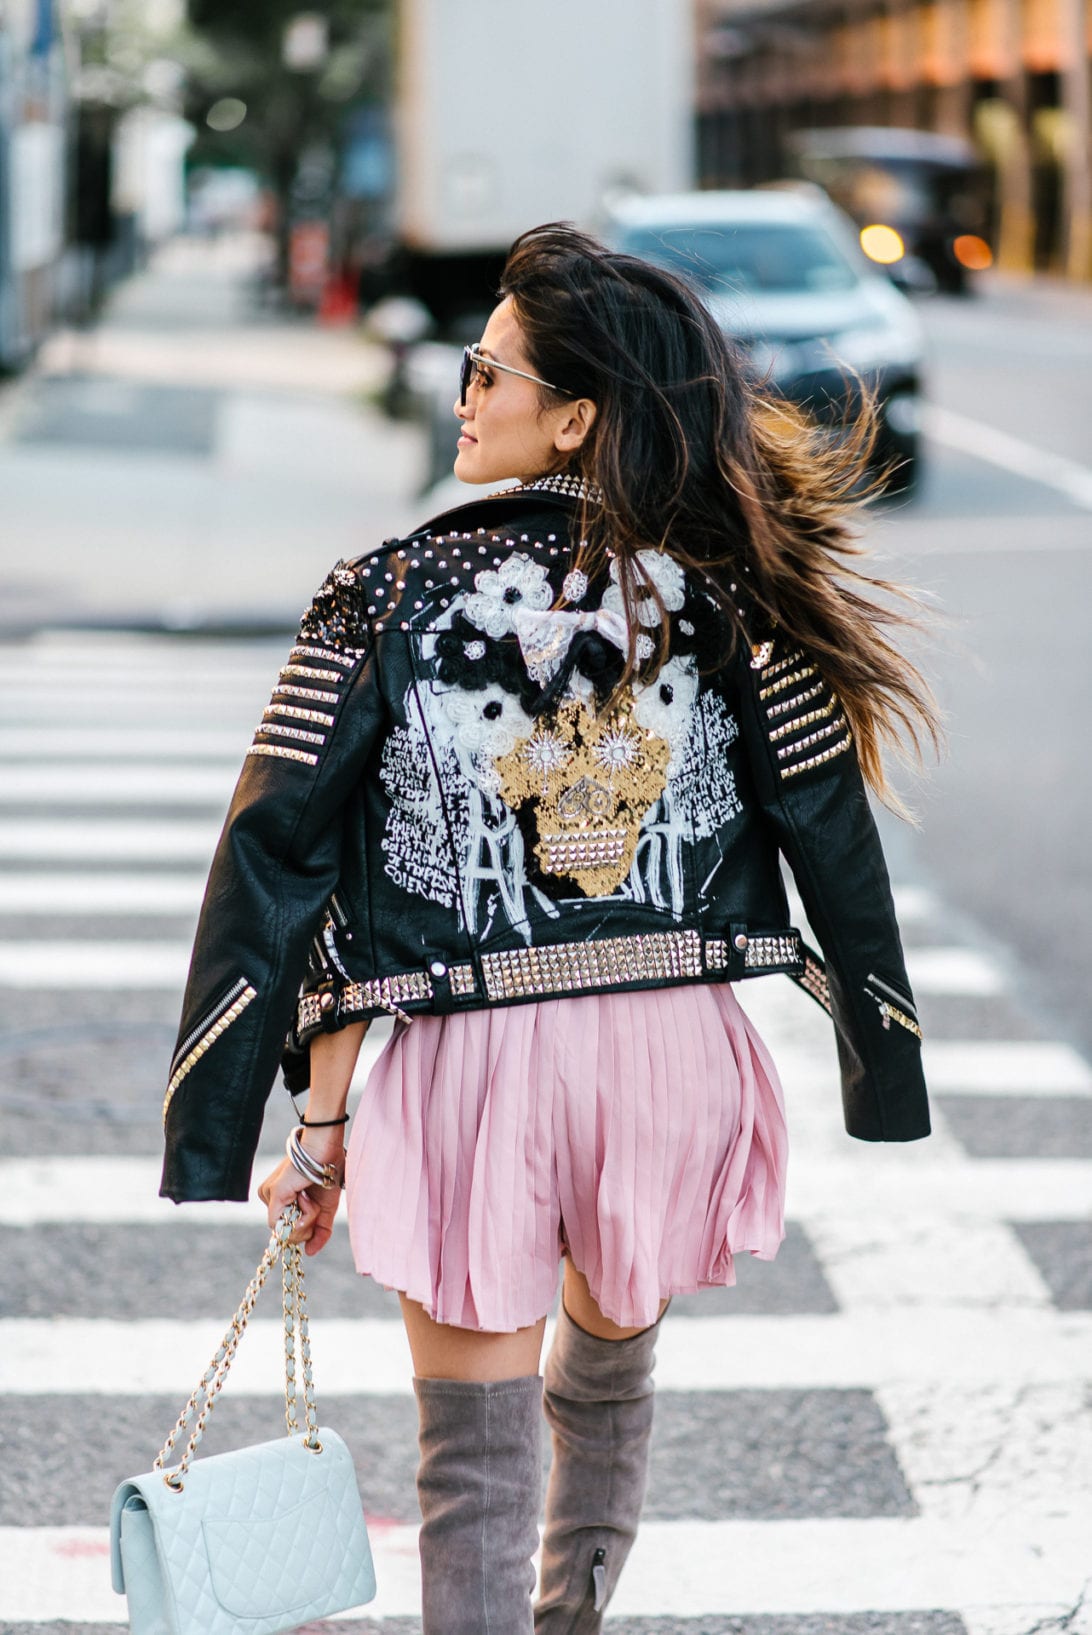
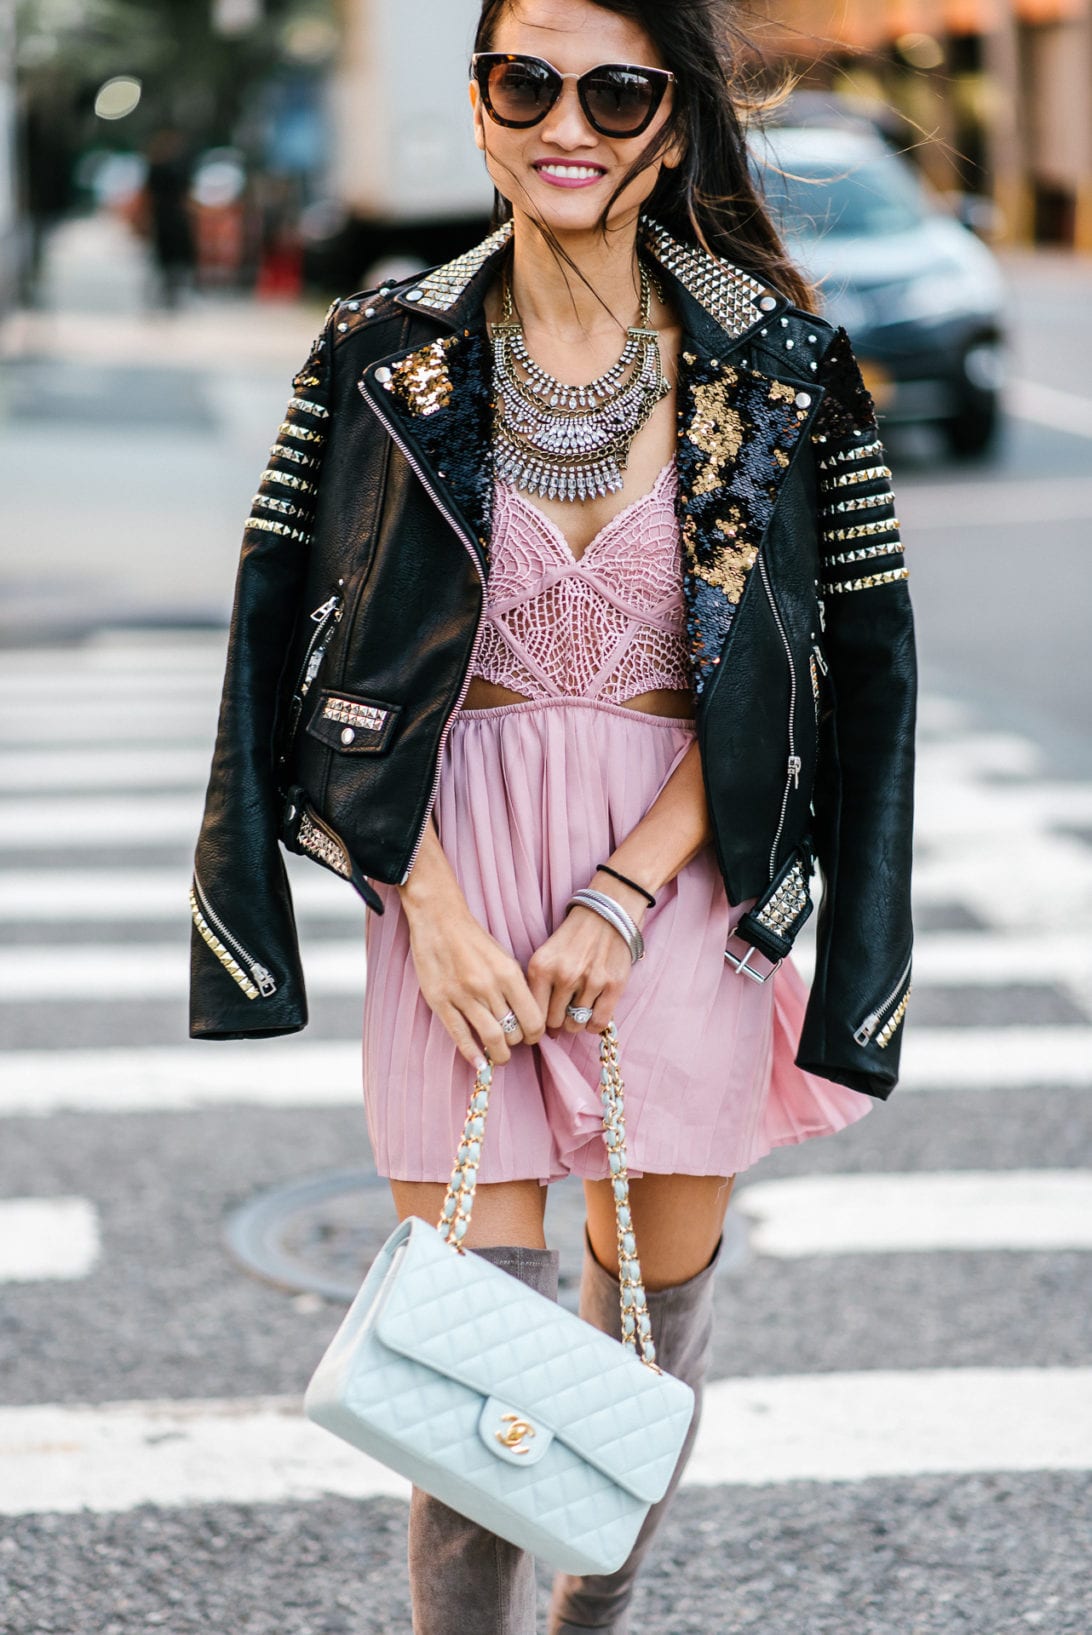
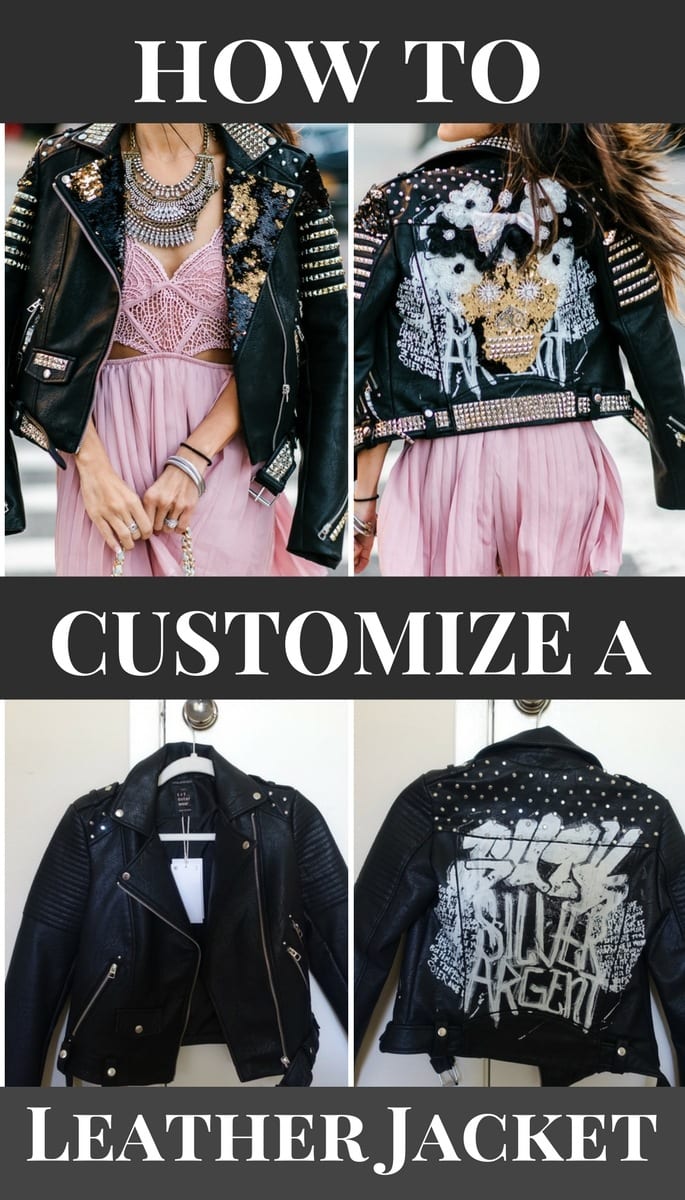
So for all of those wondering how I customized my leather jacket I wore for New York Fashion week, I am sharing a simple DIY for you. I did this in two days, and it wasn’t that hard as long as you have a design in your mind that you want to do. Figuring out my design was the hardest part. I couldn’t decide if I was going to paint my jacket or stud it. Well I when I went to Joann to find the material, my design went out the window when I saw this beautiful sequins pattern. From there it just came to me, and the constructing it itself wasn’t difficult. I was inspired to do a Frida Kahlo Day of the Dead design on the back because she was one of the most influential female artist, and to this day even after her death continues to inspire many young artist like myself. I knew I wanted to have an original piece to wear when I went to NYFW, and this was an easy customize leather jacket DIY that helped me stand out in the crowd. You can see the full outfit here! Check out my DIY below.
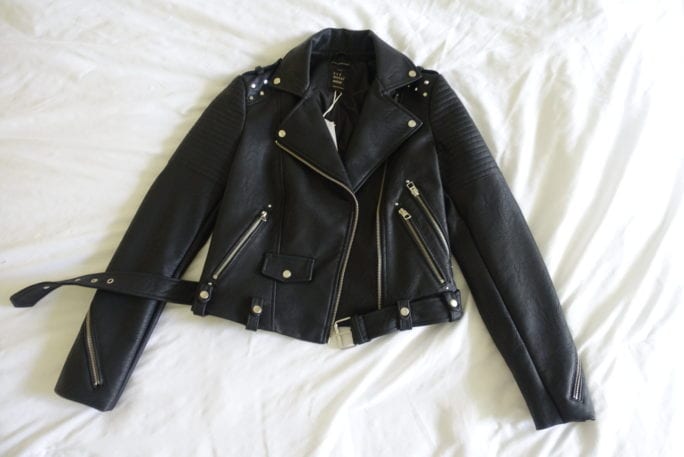
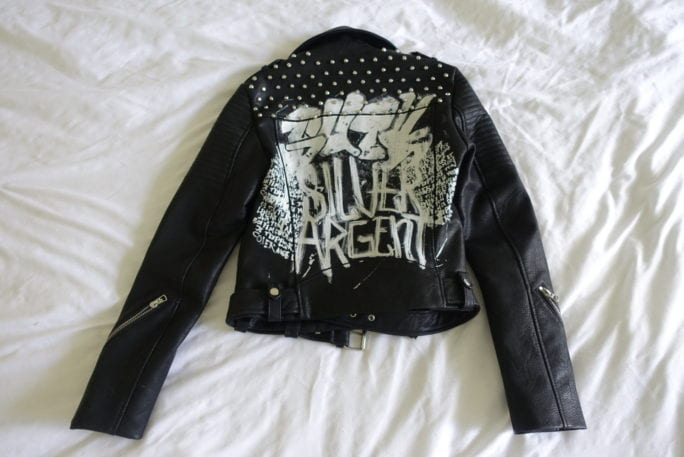
Above is the original jacket I bought on sale at Zara’s for $20. I wasn’t a fan of the design on the back so I decided to change it up. Below were the four materials I used. I bough all of this at Joann.
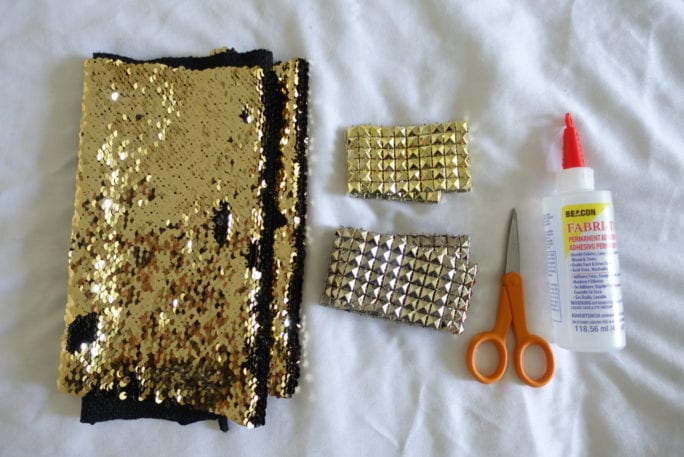
Materials:
1. Fabric glue – I used this kind of glue. You can find it at most of your local craft stores too.
2. Scissors
3. Sequin material – I loved this because it is gold on one side and black on the other, and when you brush your hands over it creates a cool effect. It’s almost therapeutic in a way lol.
4. Spool of studs – I bought it in gold and silver and each row can easily be cut to make smaller rows.
STEPS:
1. Measure the area you want to add studs too and cut the studs to fit the area. Make sure to glue every little stud or it will fall off. Some of mine did after a couple of wears since I didn’t use enough glue, luckily I had extra studs and glue to glue it back on. Be generous with the fabric glue.
2. For the back Frida Day of the Dead skull, I cut out the skull first, and glued it on the jacket before adding the jeweled pins for the eye and nose. For the hair I used lace ribbon that was already shaped like flowers and glued it around the skull.
3. For the sequins, I first laid the material on the area I wanted to add it to and traced around it so I can know where to cut. I also used fabric glue to glue down the sequins.
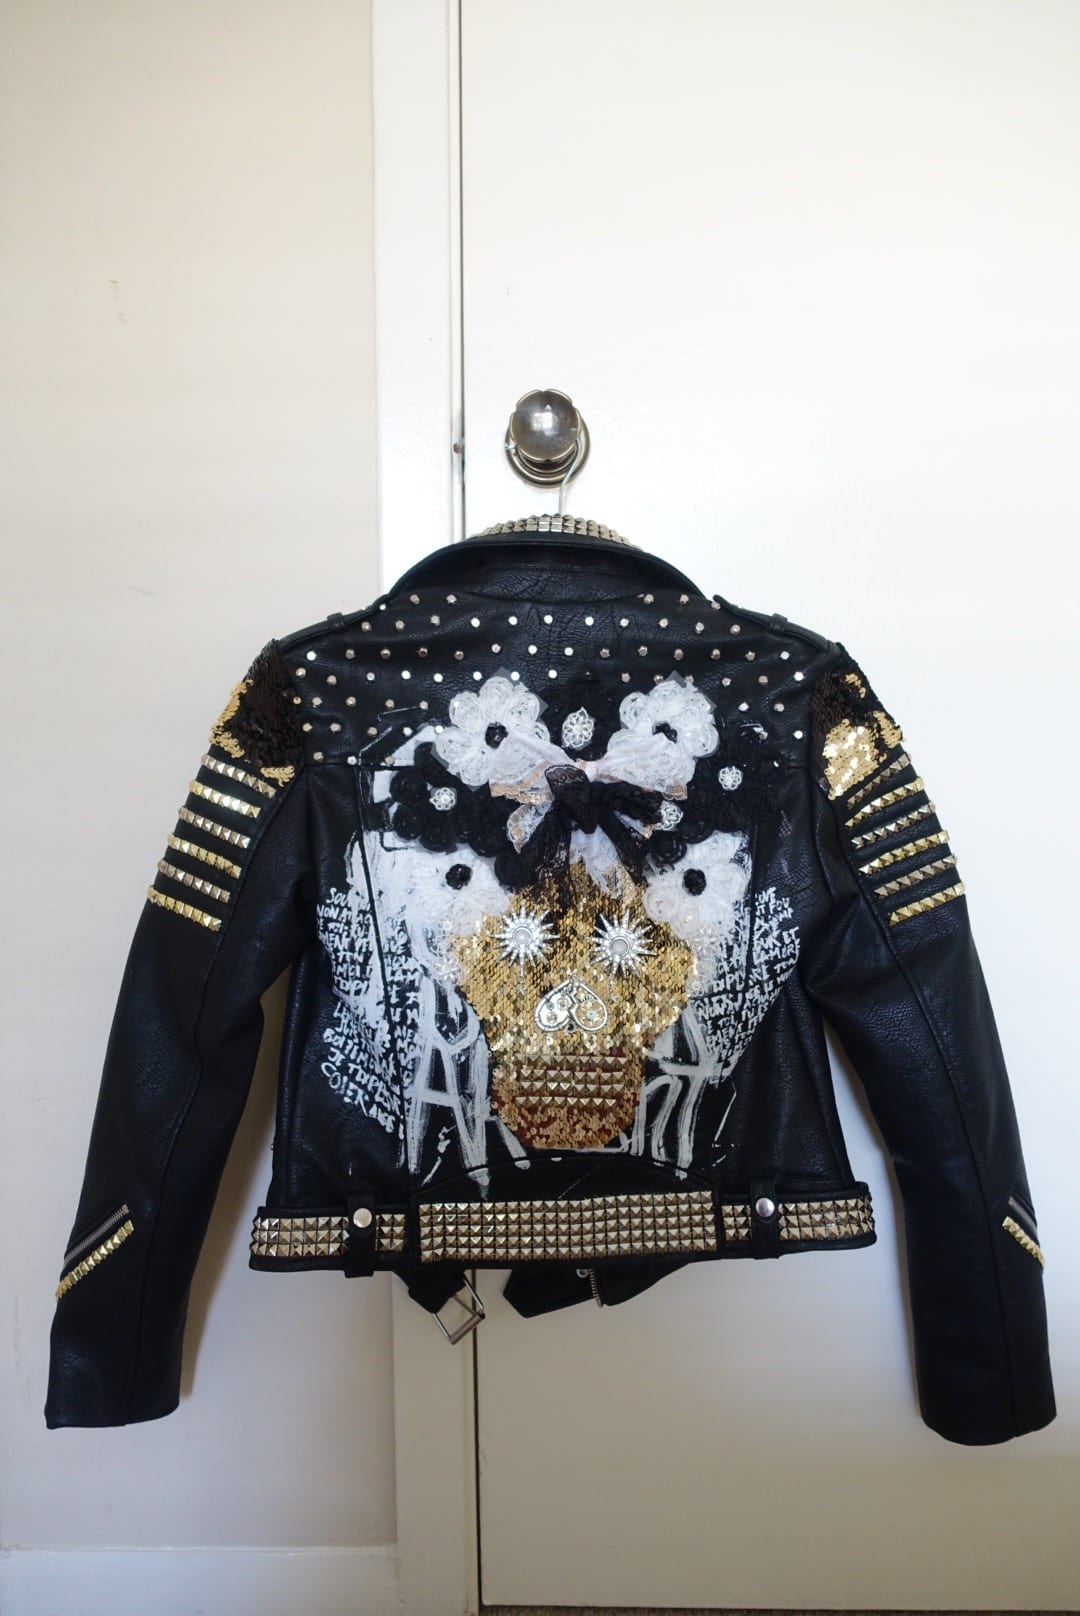
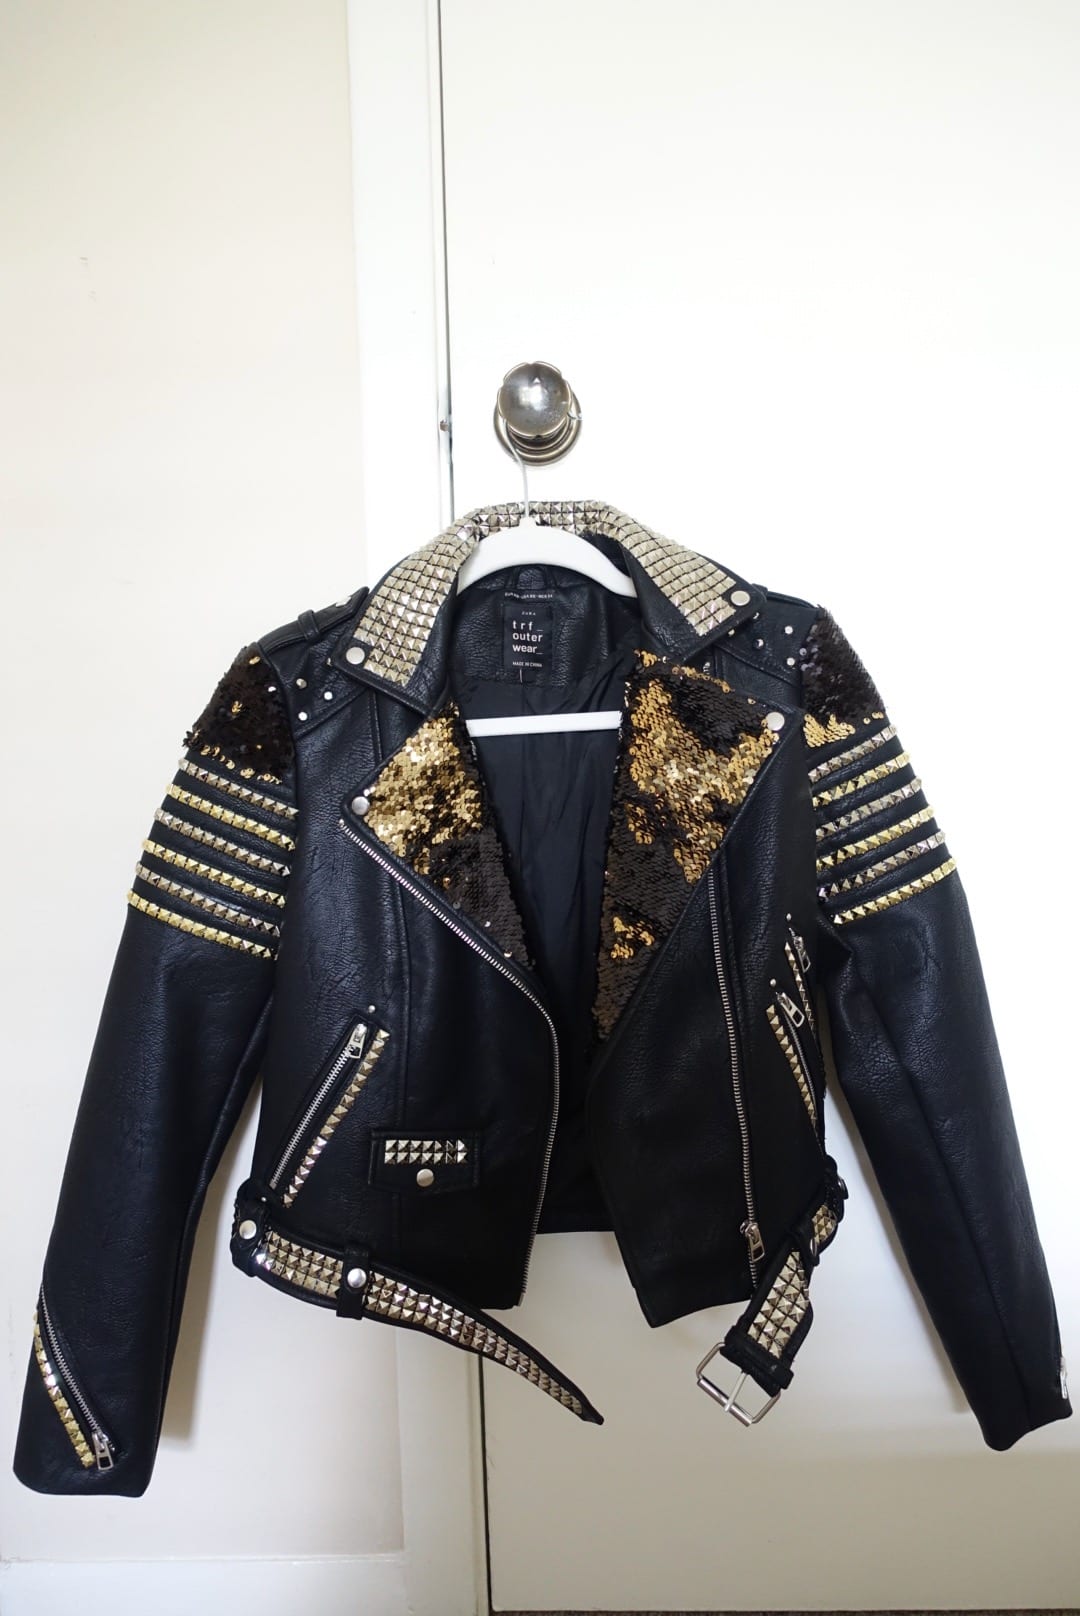
And that’s it guys! It is really that simple! This is an easy and simple DIY you can do to customize your leather jacket. And with Halloween coming up, it just might make the perfect costume accessory too! Let me know if you have any questions by commenting below. Have a great weekend everyone!

P.S. Subscribe for weekly newsletters so you never miss a single post!


I’m so glad that you shared this DIY; I was so impressed with this jacket when you shared it in your original post! I actually just got a suede moto jacket in that I want to try adding embellishments to myself.
I’m sure redesigning this jacket was quite therapeutic! I wish I had the patience to do it, but I love the way it turned out 🙂
http://www.thebeautybeau.com
You did a fantastic job!! Now, need to find a jacket so I can make my own. 🙂
This was one of my favorite looks of your from NYFW. You looked like a rockstar!
Greta | http://www.gretahollar.com
Wow, I’m so impressed! This does not look DIY, you did such a great job with it!
what a fun DIY project!
Such a cute jacket! Can’t believe it’s a diy!
It seriously turned out SO great!!! I love love all the different textures! Such a cool look on you!!
It is SO cute!! I definitely want to do this!
Liz
http://Www.lizzieinlace.com
Dang girl, you’re a pro!! Yours turned out great 🙂
Those are great tips and love the way you did that!