FEATURED ON THIS POST:
Hi friends,
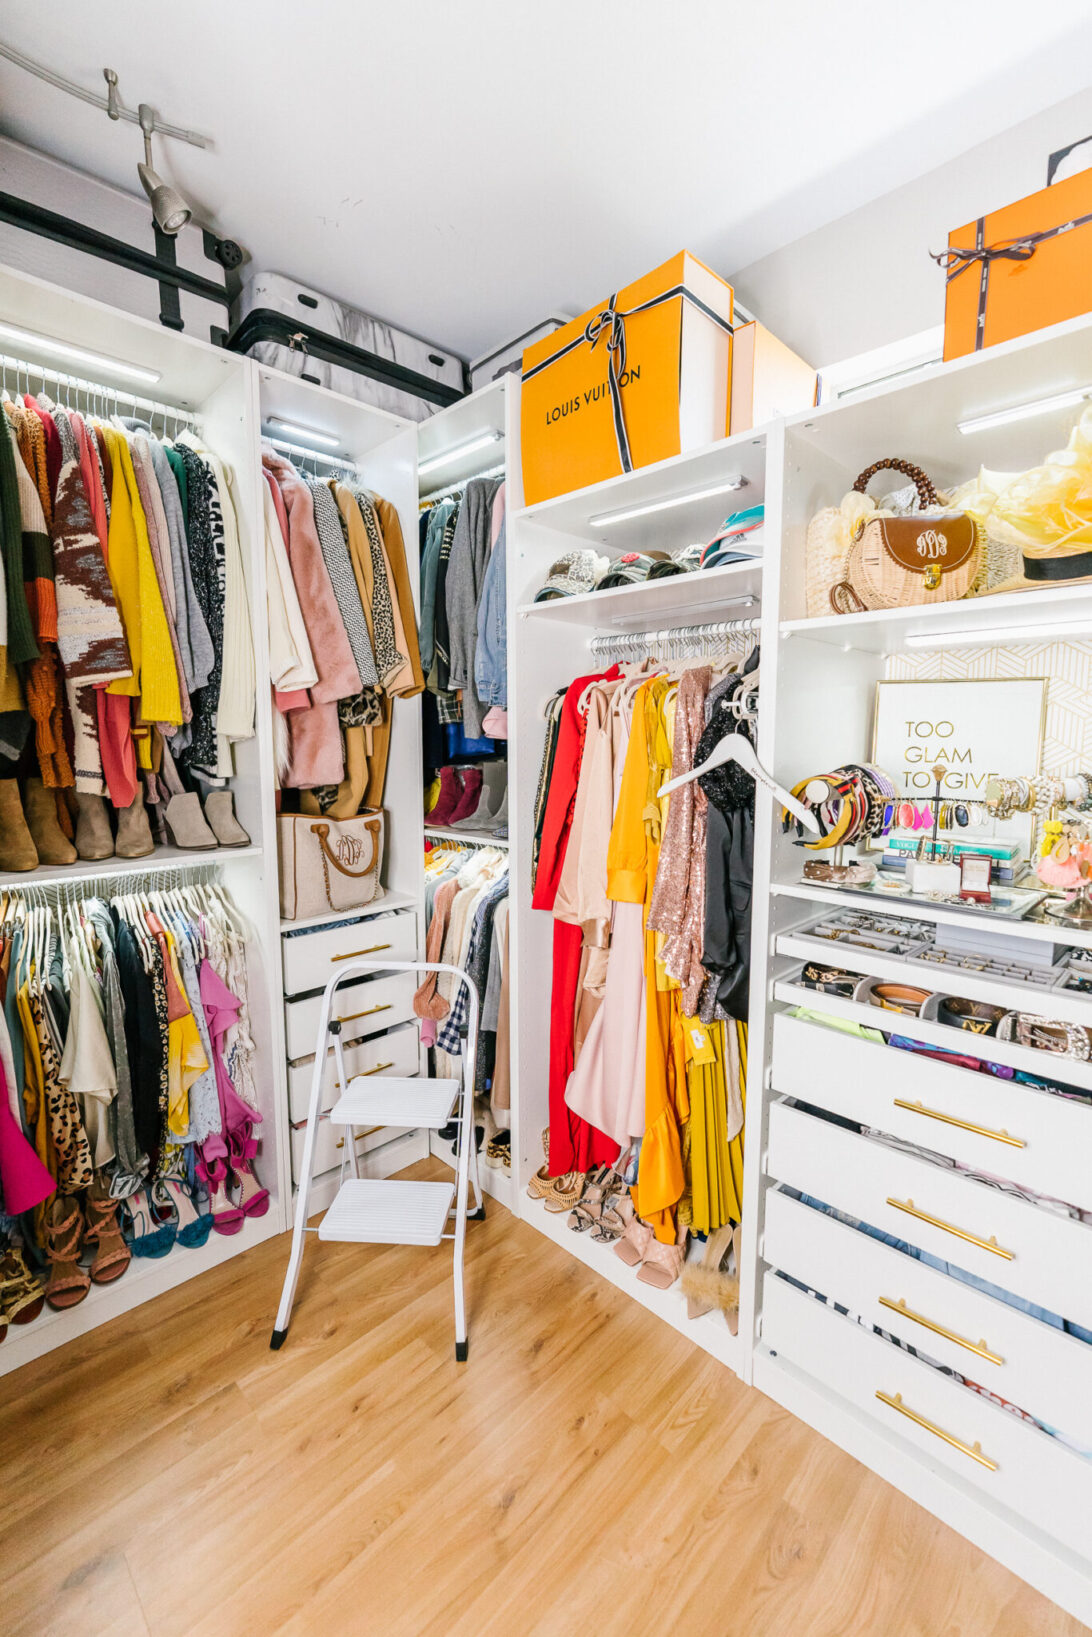
Hope you are doing well! Today I am finally sharing our master closet renovation. This is probably one of my favorite renovation in our home that we did. I loved how organized our space is and how we utilized every inch of our master closet with our new Ikea Pax System. Check out the before and after and the process of our master closet renovation below:
The Before:
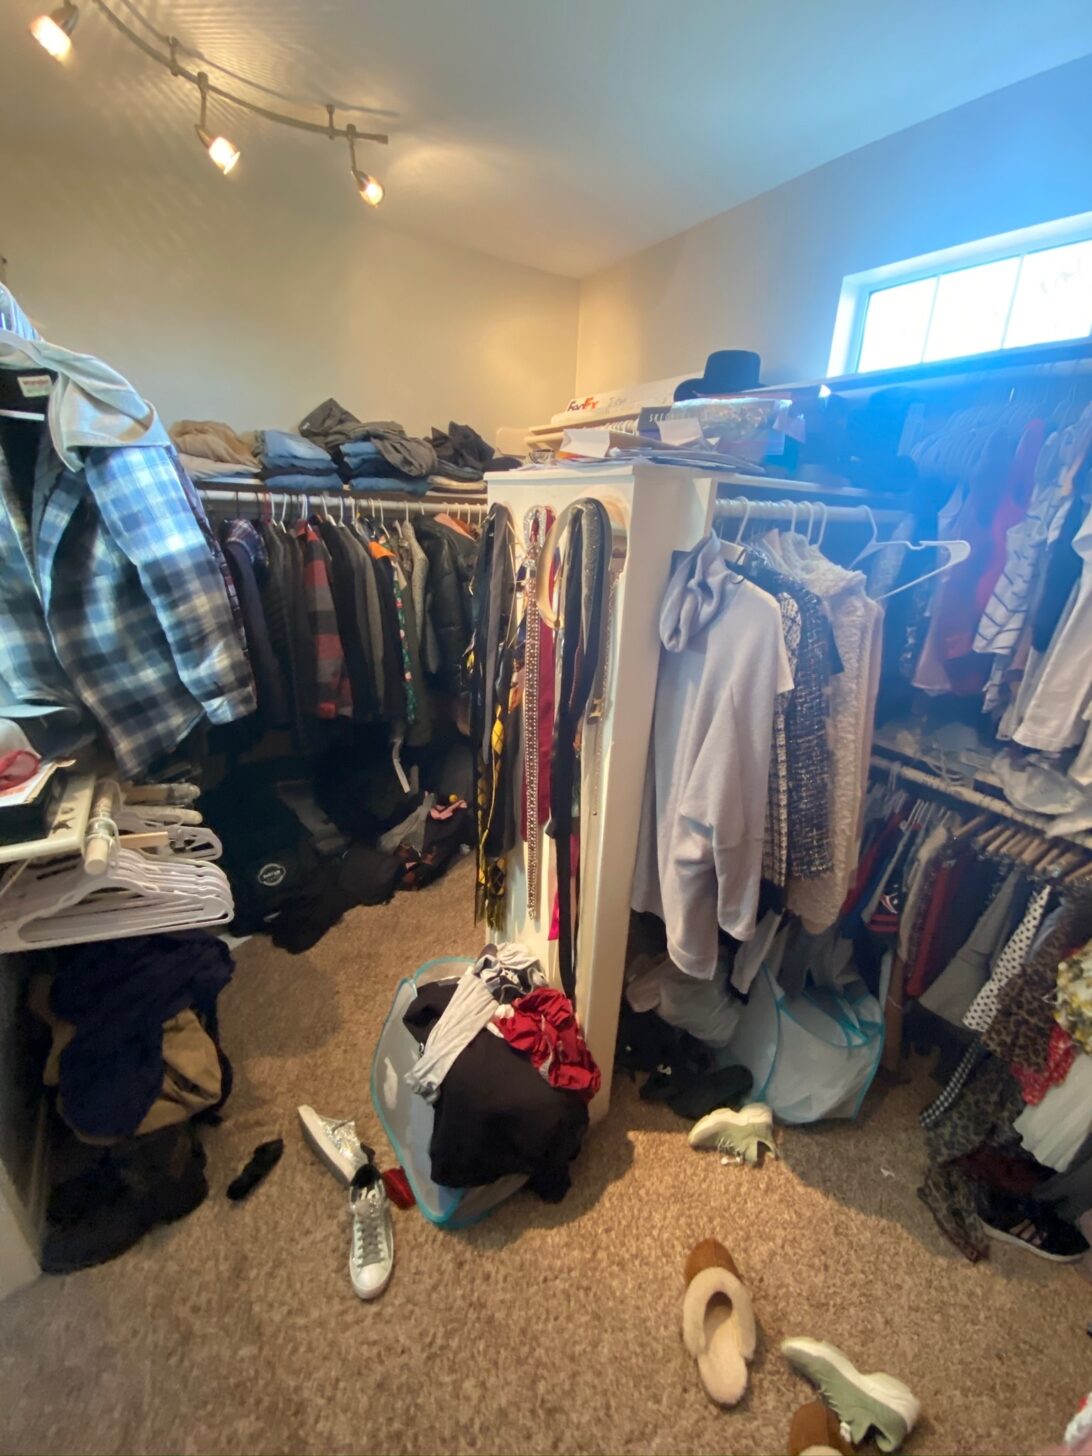
The before picture below is not a pretty sight. There were several things I did not like about our closet. First, it didn’t utilize the 8x12ft space efficiently. Second, the carpet in the room was ugly. The first thing we did was demo our existing closet shelving and rods and took out the carpet. Next we hired professionals to add the laminate flooring. We had already hired them to replace our floors upstairs so we decided to just add this room before. You can see the photo below how much space we had when we removed everything, and how much better the laminate floors made our room look.


THE DESIGN PROCESS:
After doing my research on custom closets I decided to go with the PAX Closet system from Ikea for my Master Closet reonovation. The main reason I chose it was because the price was half the price of a custom closet. I also loved the ability to change the customization as you go. This was important because no matter how much you plan sometimes you realize you might need to add an extra shelve or drawer, and the PAX closet system allows you to do that without it being a big hassle. And last but not least the ease of installation.
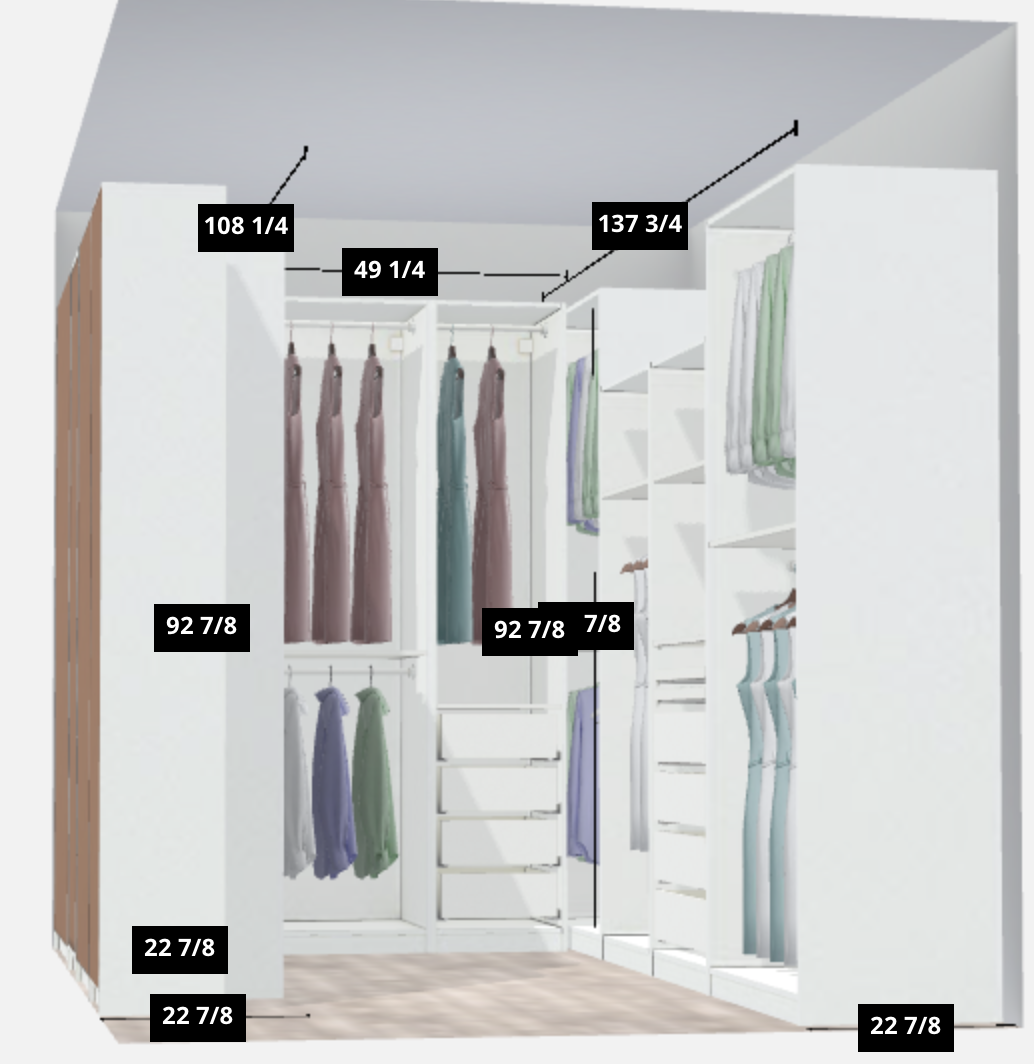
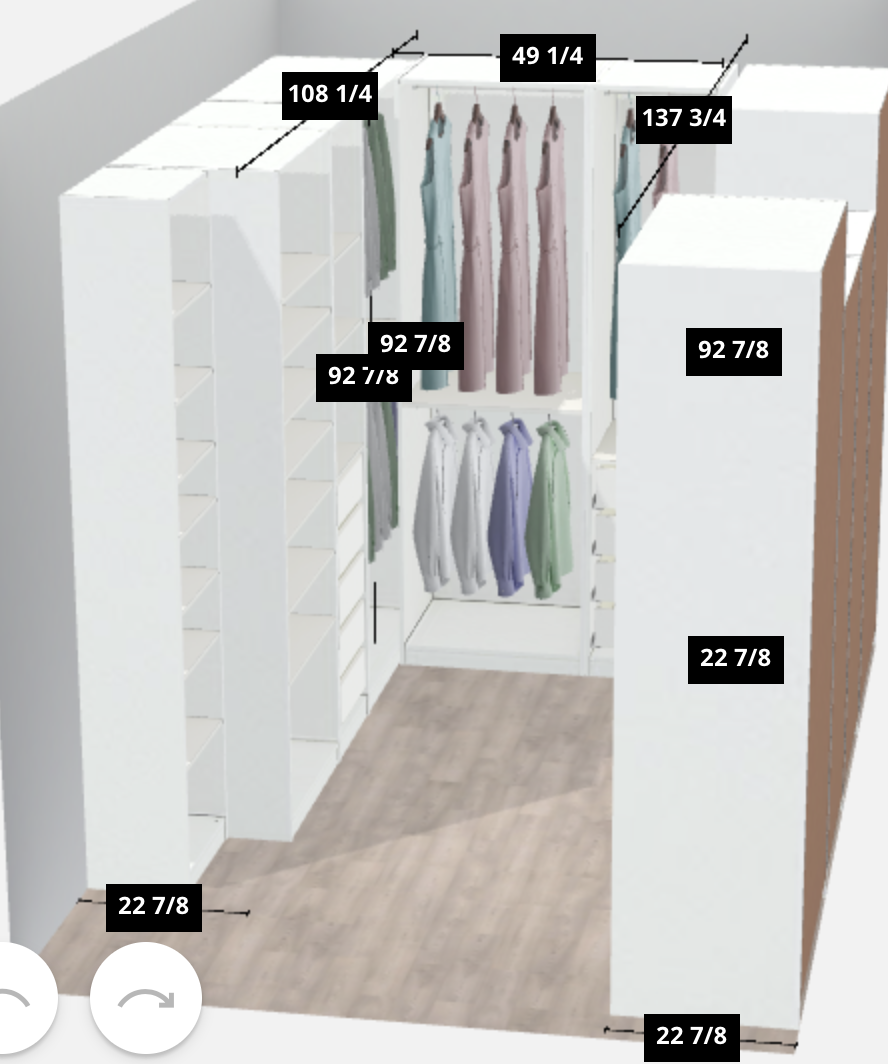
The design process isn’t hard when using the PAX Planner online. The hard thing is planning how many drawers, shelves, and other organizational things you need. I visited Ikea several times to look at their display. I also had a Pinterest board of other Pax closets to give me an idea of different organizational space. For me having enough drawers, shoe shelving, and hanging space was key. Below is a rendering of my closet that I planned on the Pax planner. For size reference my closet is 8×12 ft and 9 ft ceilings.
The Pax planner only allows you to design three wall versus four, so I just added the shelvings on the walls even though I knew it would go on a different wall. It’s important to have the right measurements of your closet and allow for some space between walls so it isn’t too tight of a fit. I did end up changing it a little bit when I realized I needed more drawer space. But that’s what makes the Pax closet so versatile is because I was able to make those changes without it messing up everything.
Another thing I would suggest is to buy as much as you can of your closet material from Ikea because they sell out fast. I had to make four separate orders within 5 weeks to get all the materials for my closet. It will be hard to get it all in one order if you are doing a big closet.
THE BUILDING PROCESS:
You can easily hire someone for $500 to build and install your closest through Ikea Task Rabbit. I hired someone to build half of my closet and install it for me and was so thankful I did. He did a great job and it saved me time. The only reason I had him only do half was because not all of my closet material came in time. I ended up just building the rest of it myself little by little when the pieces came available in store. It was time consuming but it wasn’t hard. You could build it yourself but just know it is time consuming.
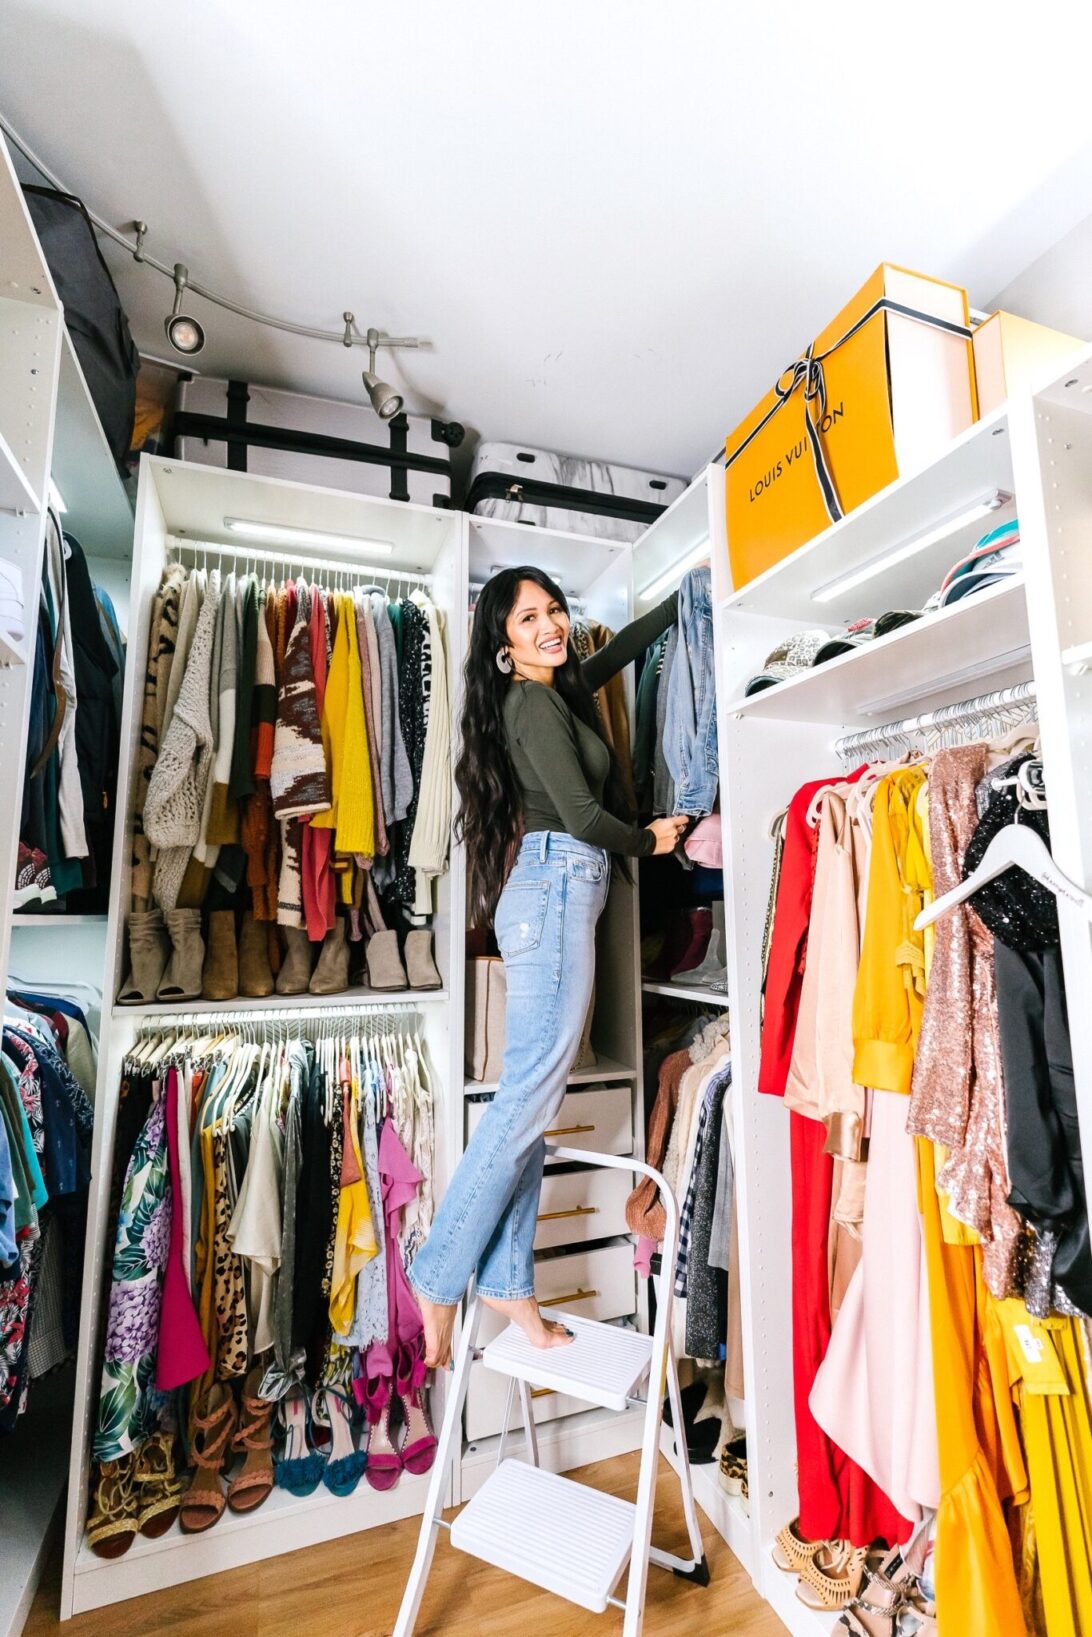
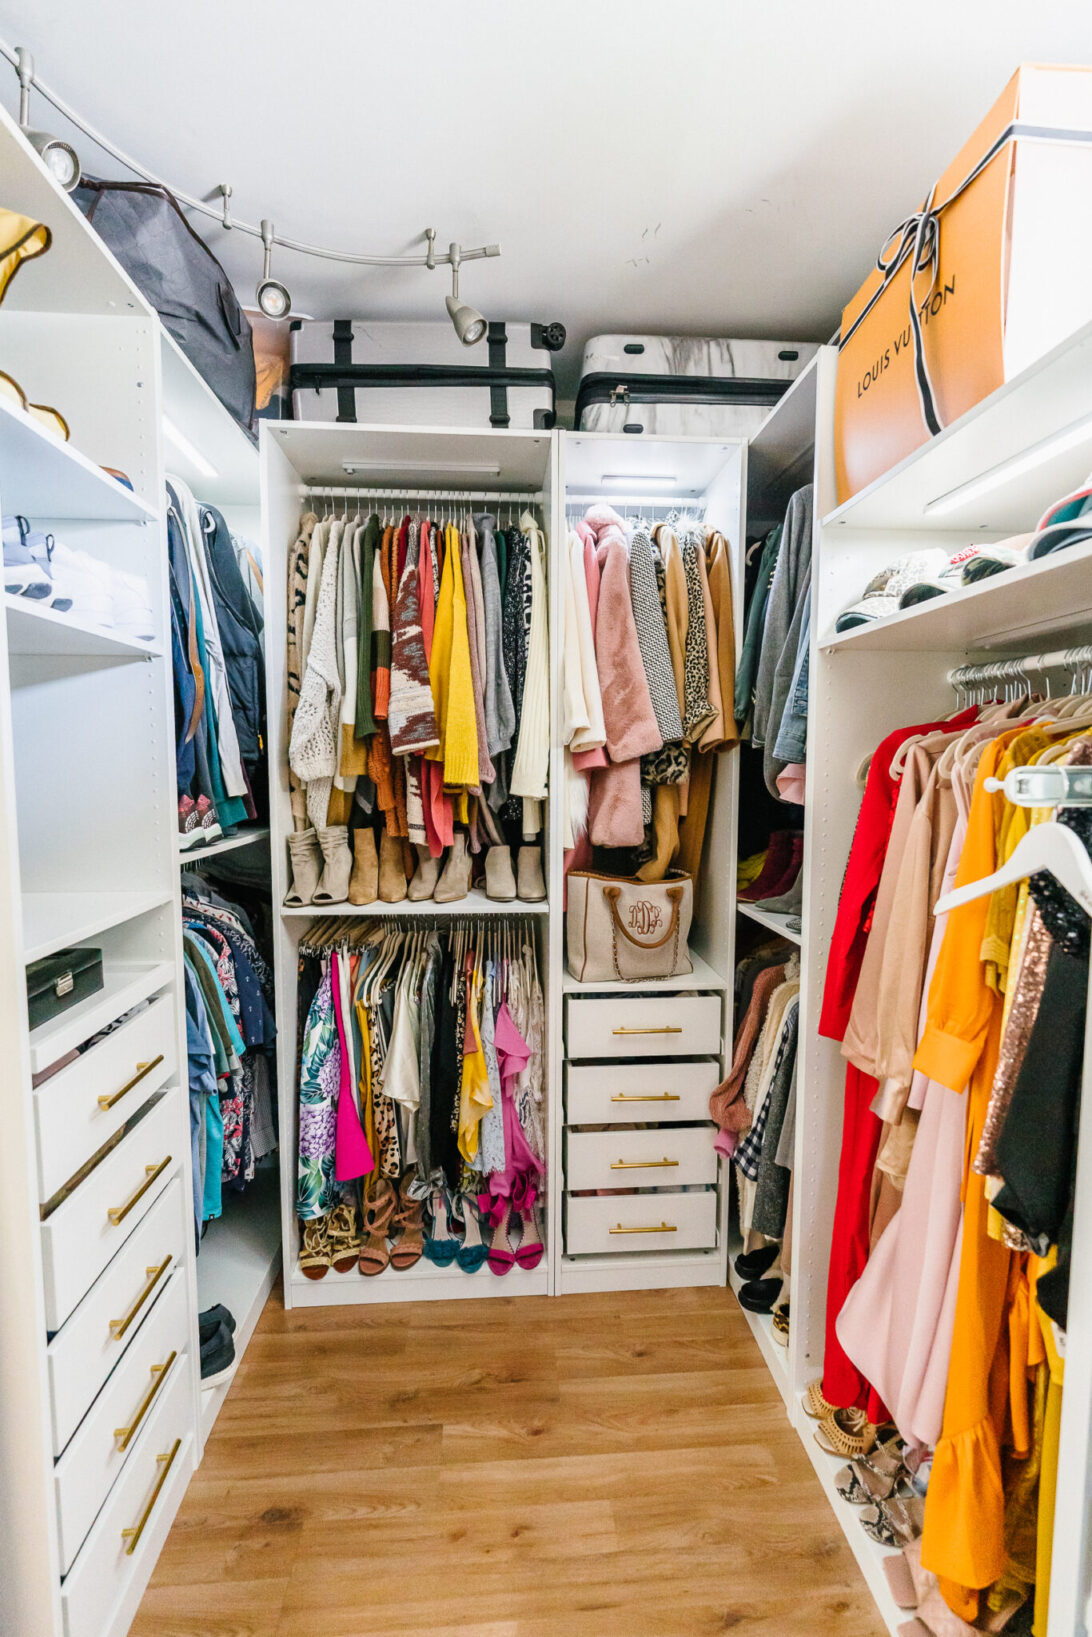
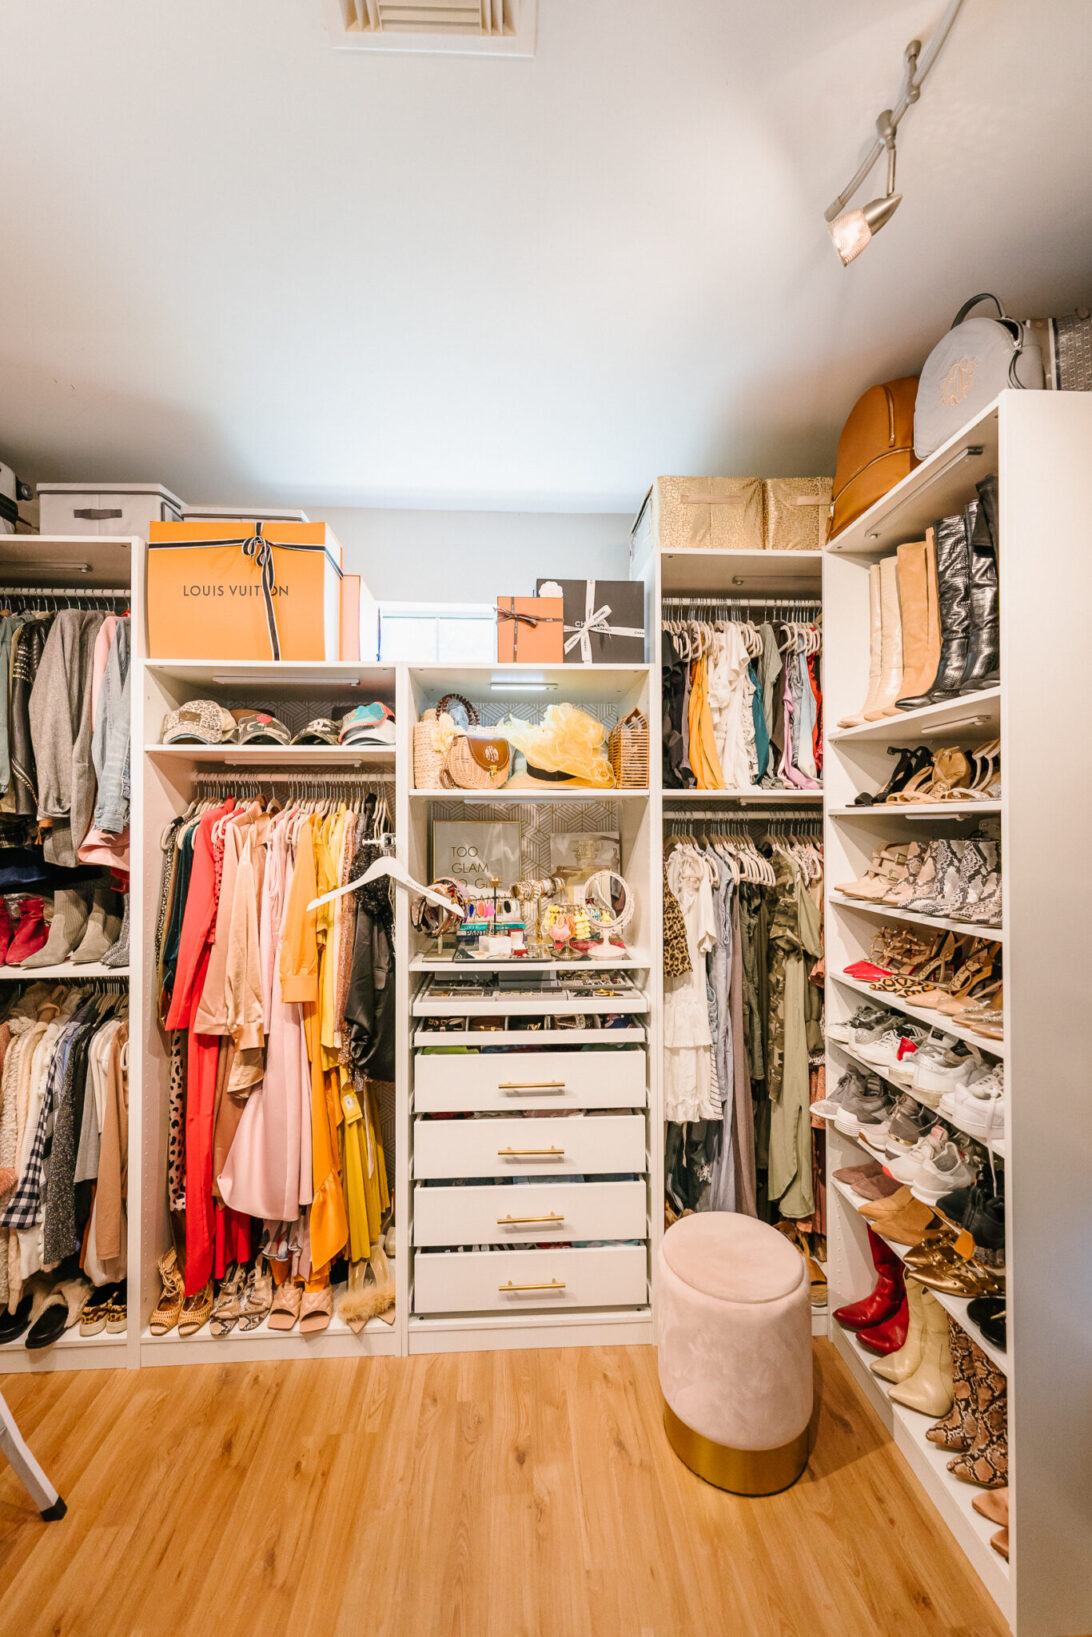
As you can see we utilized every space in our closet including above the shelves. We store our luggage and snow gear as well as all my designer boxes above. I bought this cute foldable white ladder to get to hard to reach areas, and these cute collapsable storage bins for my seasonal clothes and accessories. I needed to maximize my hanging space as much as I could so we used the whole length of each unit.
Storage Solutions:
We added this pullout hanging system for both mysids and Josh’s side of the closet. He uses his to hang his belts and ties, and I use mine to display my outfit choices. I also added these gold pulls to my drawers for a customized glam look. 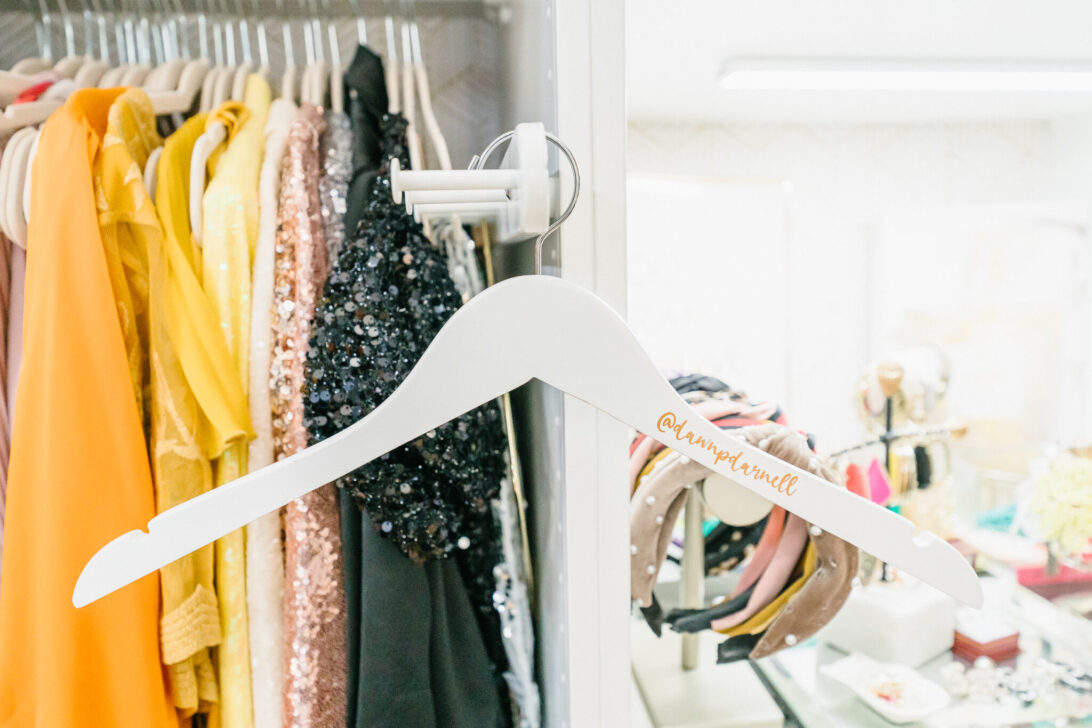
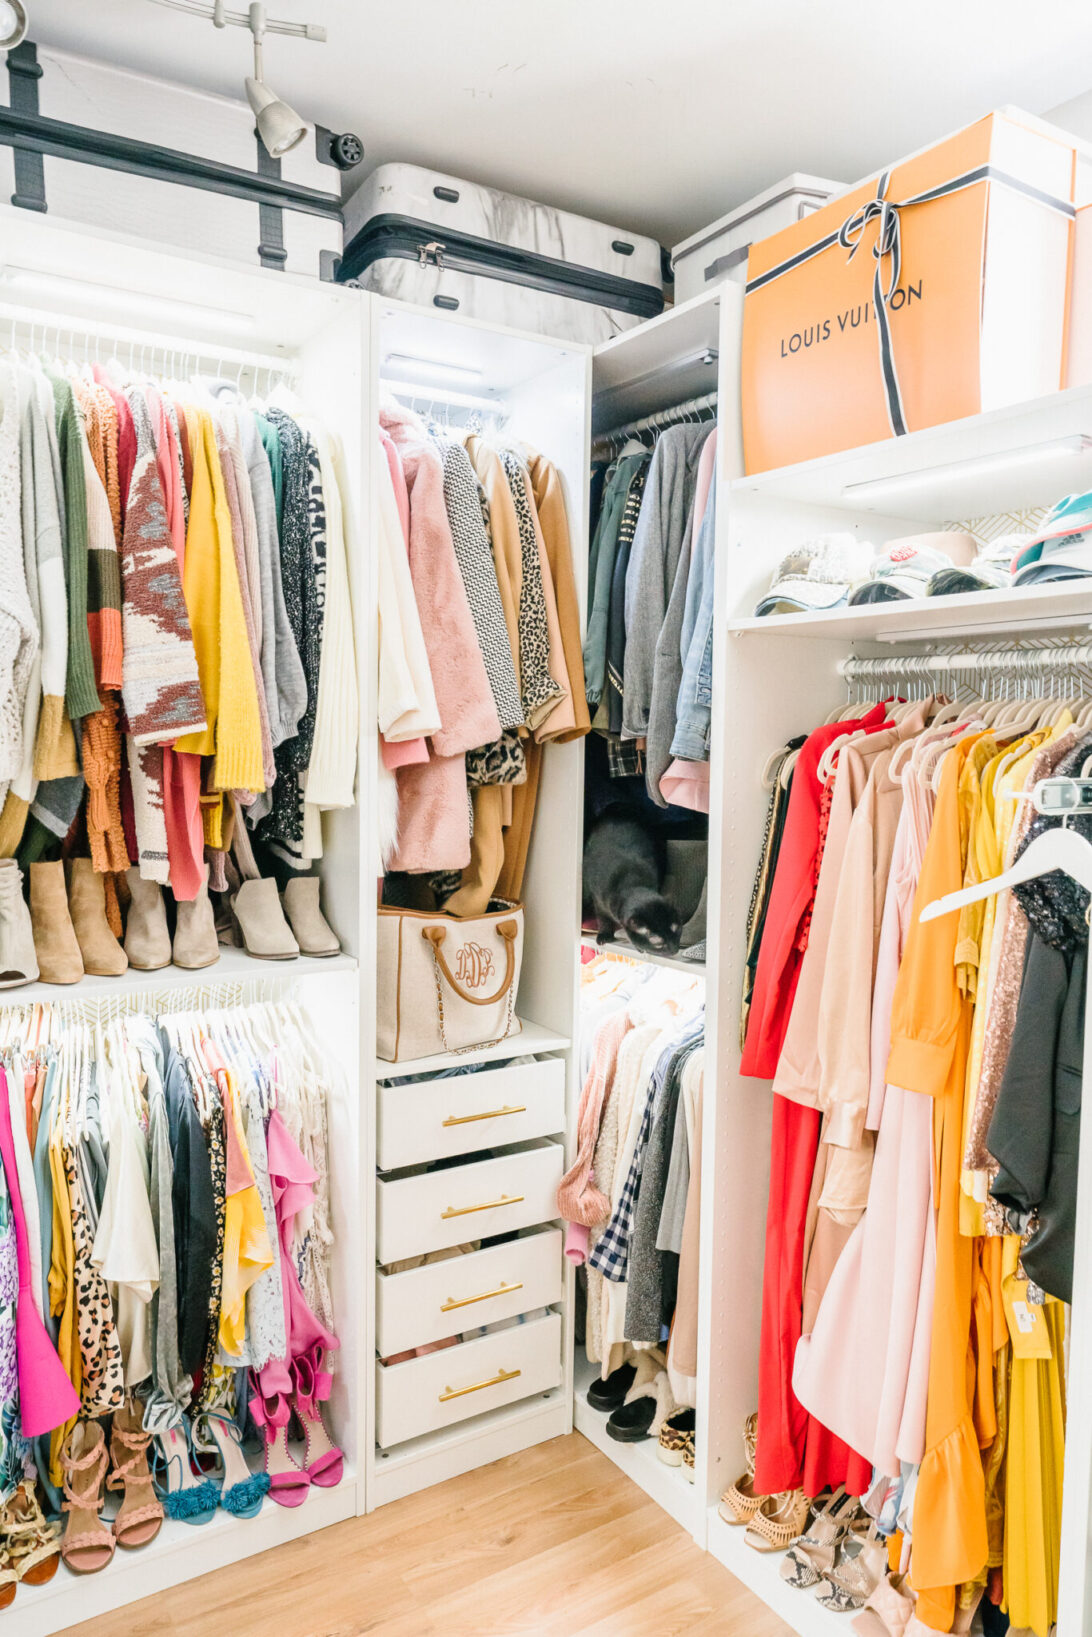
This is Josh’s side below. As you can see we utilized the corner space. It isn’t as tight of a fit as you think reaching back there. Plus that’s where we store his winter things that he doesn’t reach for often. We added motion sensor lights which was great for lighting up the hard to see areas. Josh needed more drawer space than hanging space so we made sure to also add drawers on his side. His shoes are stored under his clothes and on the shelves. He didn’t need as much space for his shoes as I did.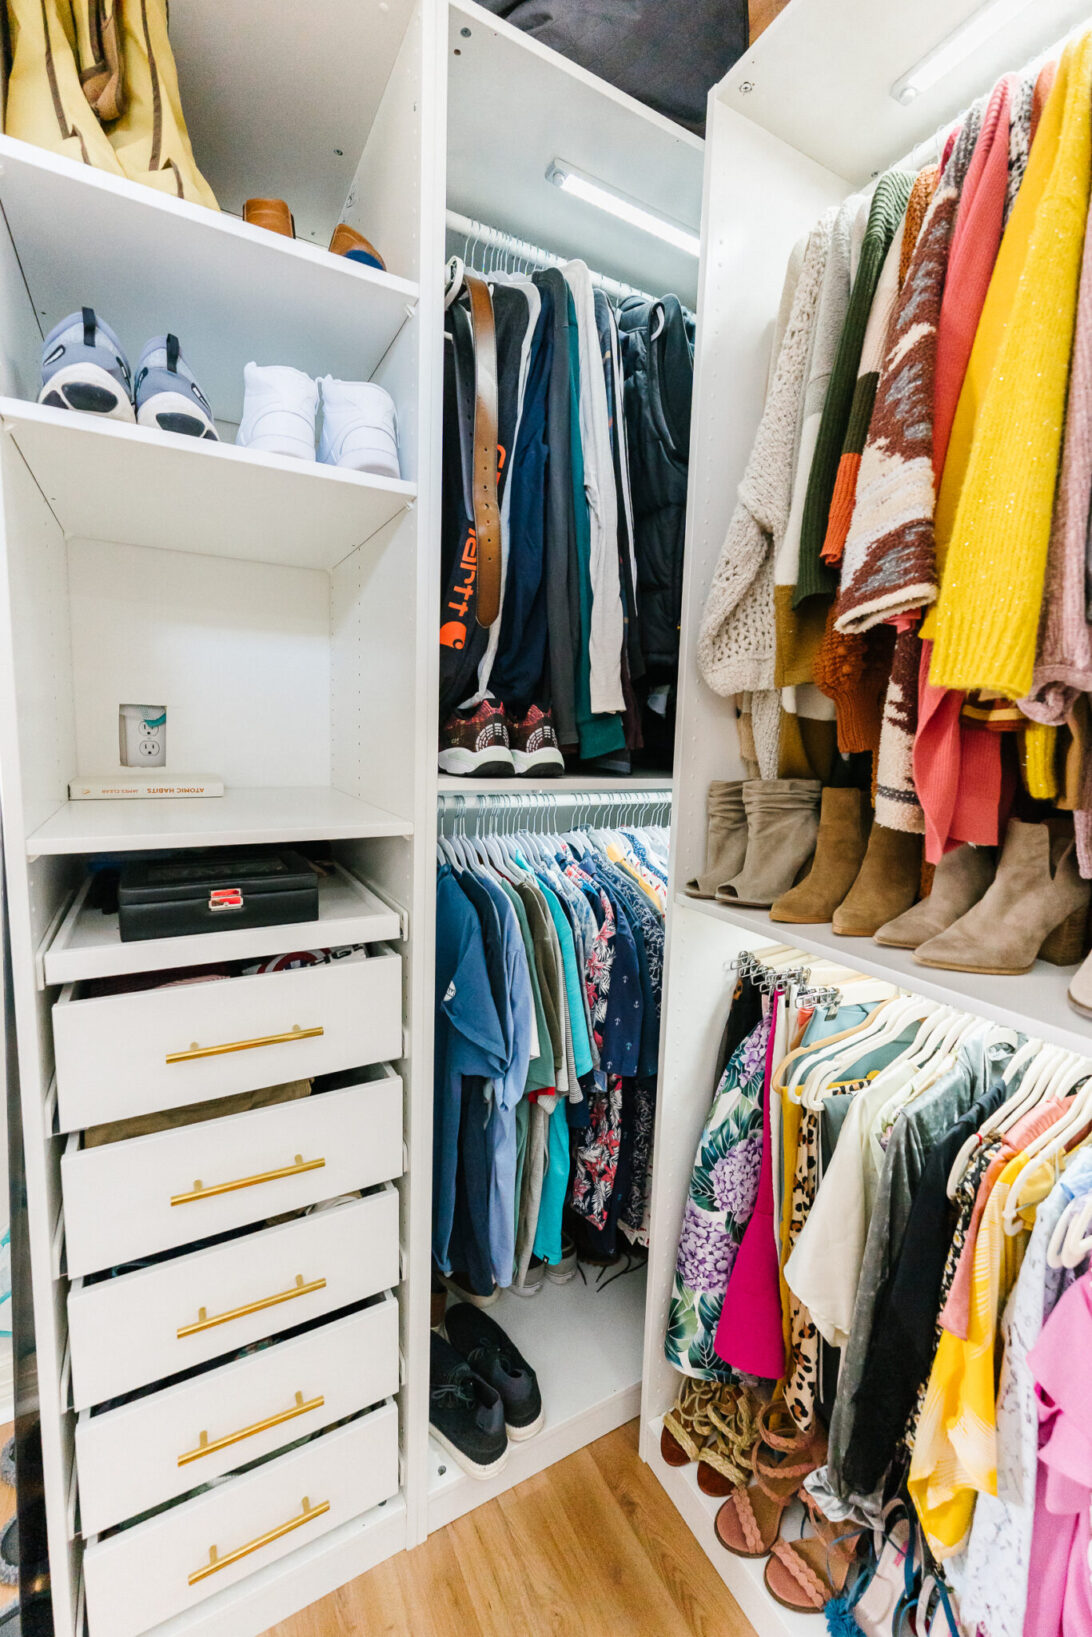
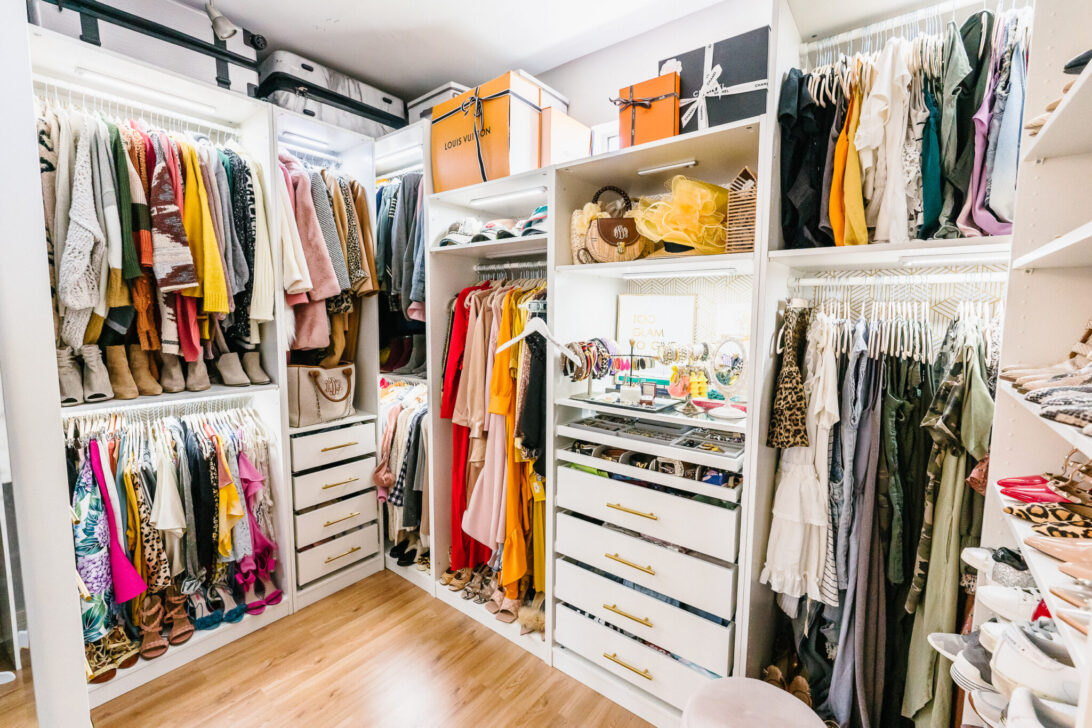
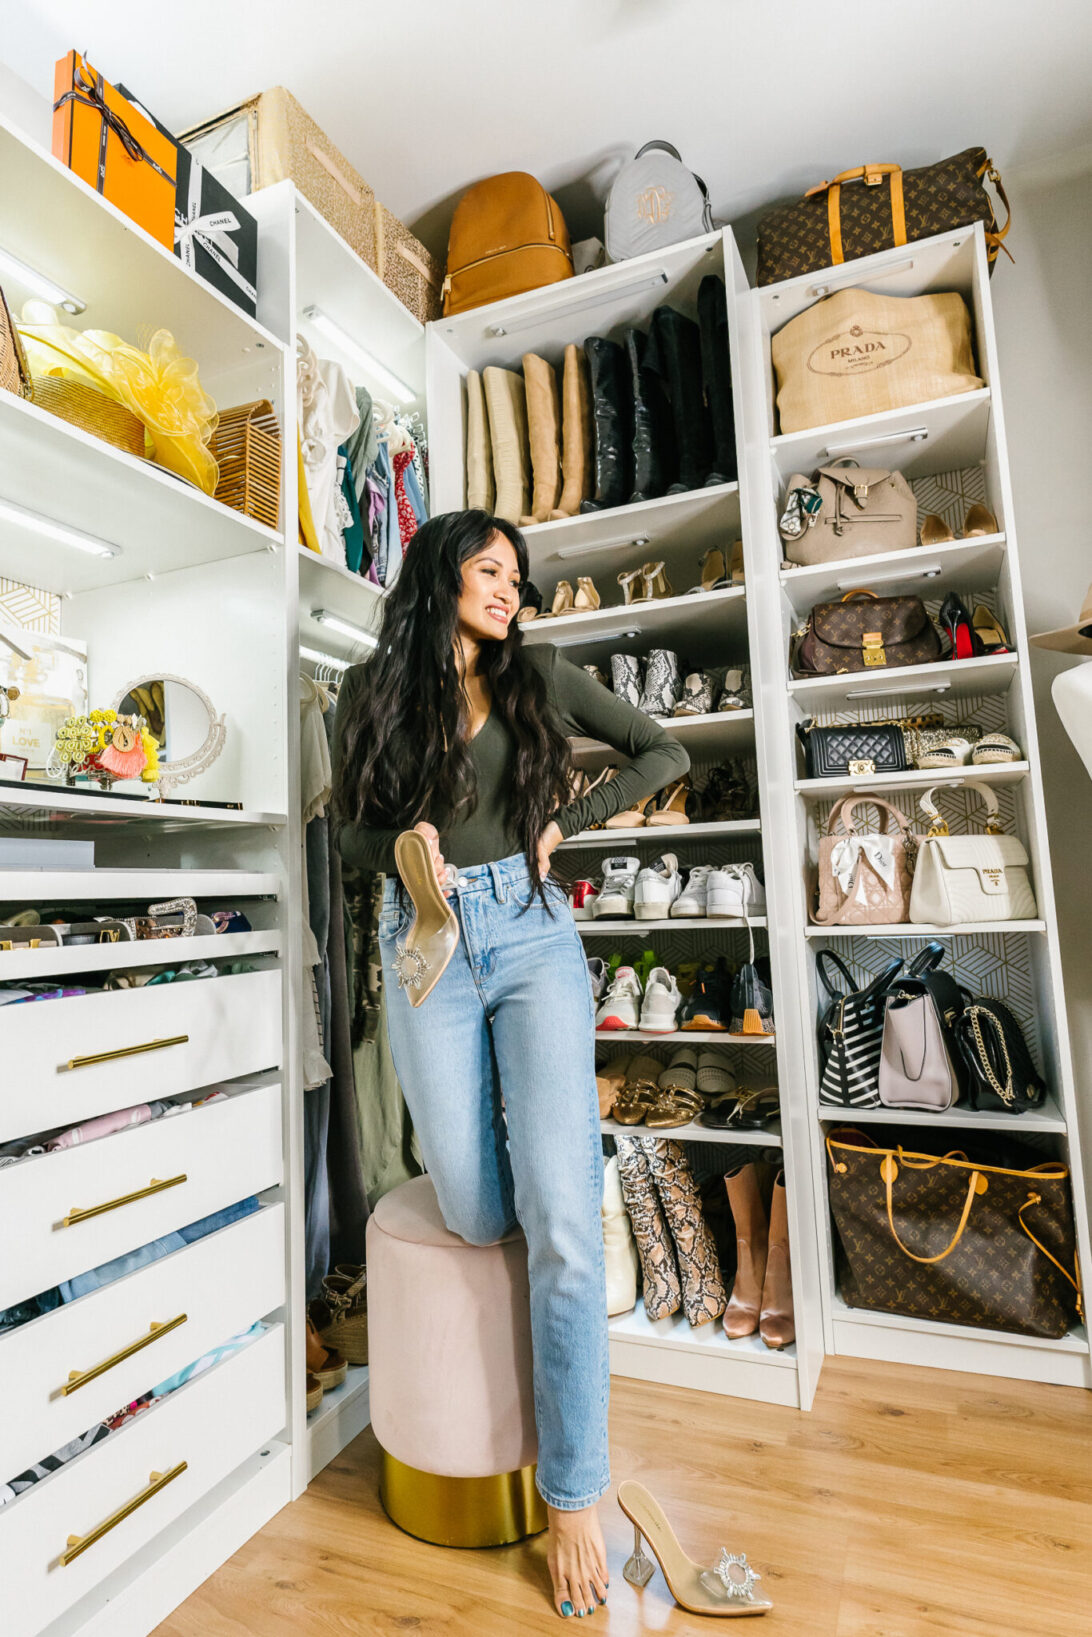
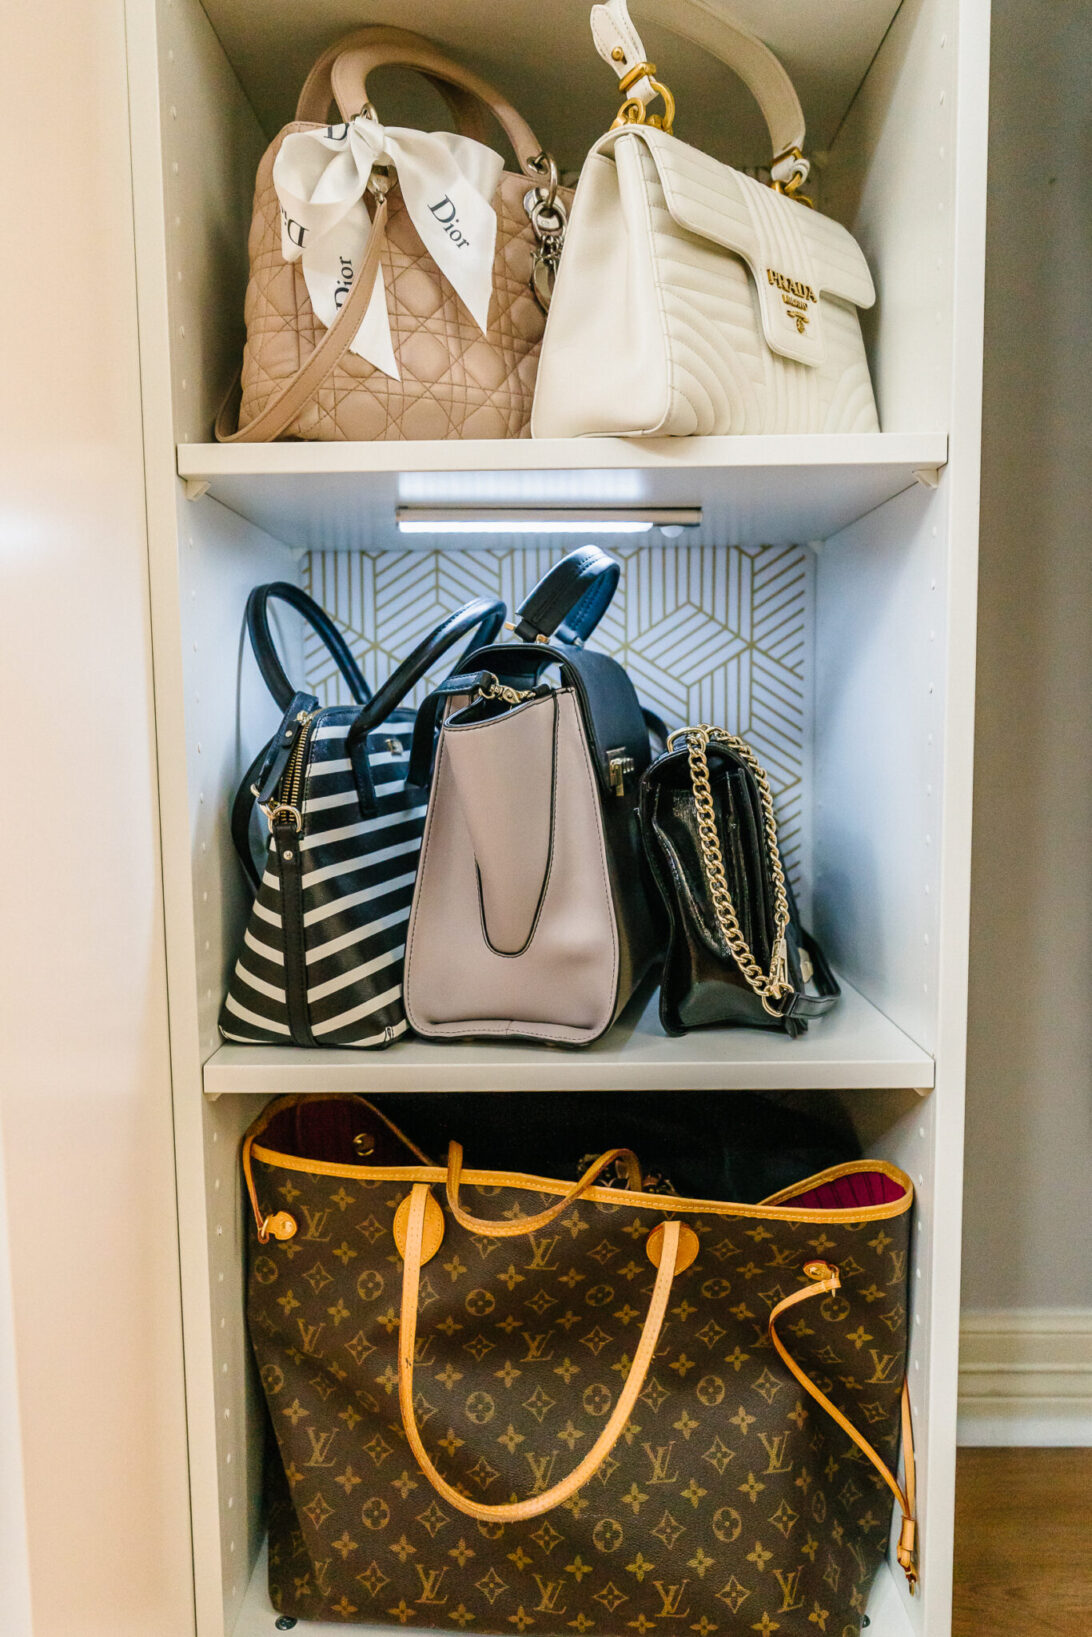
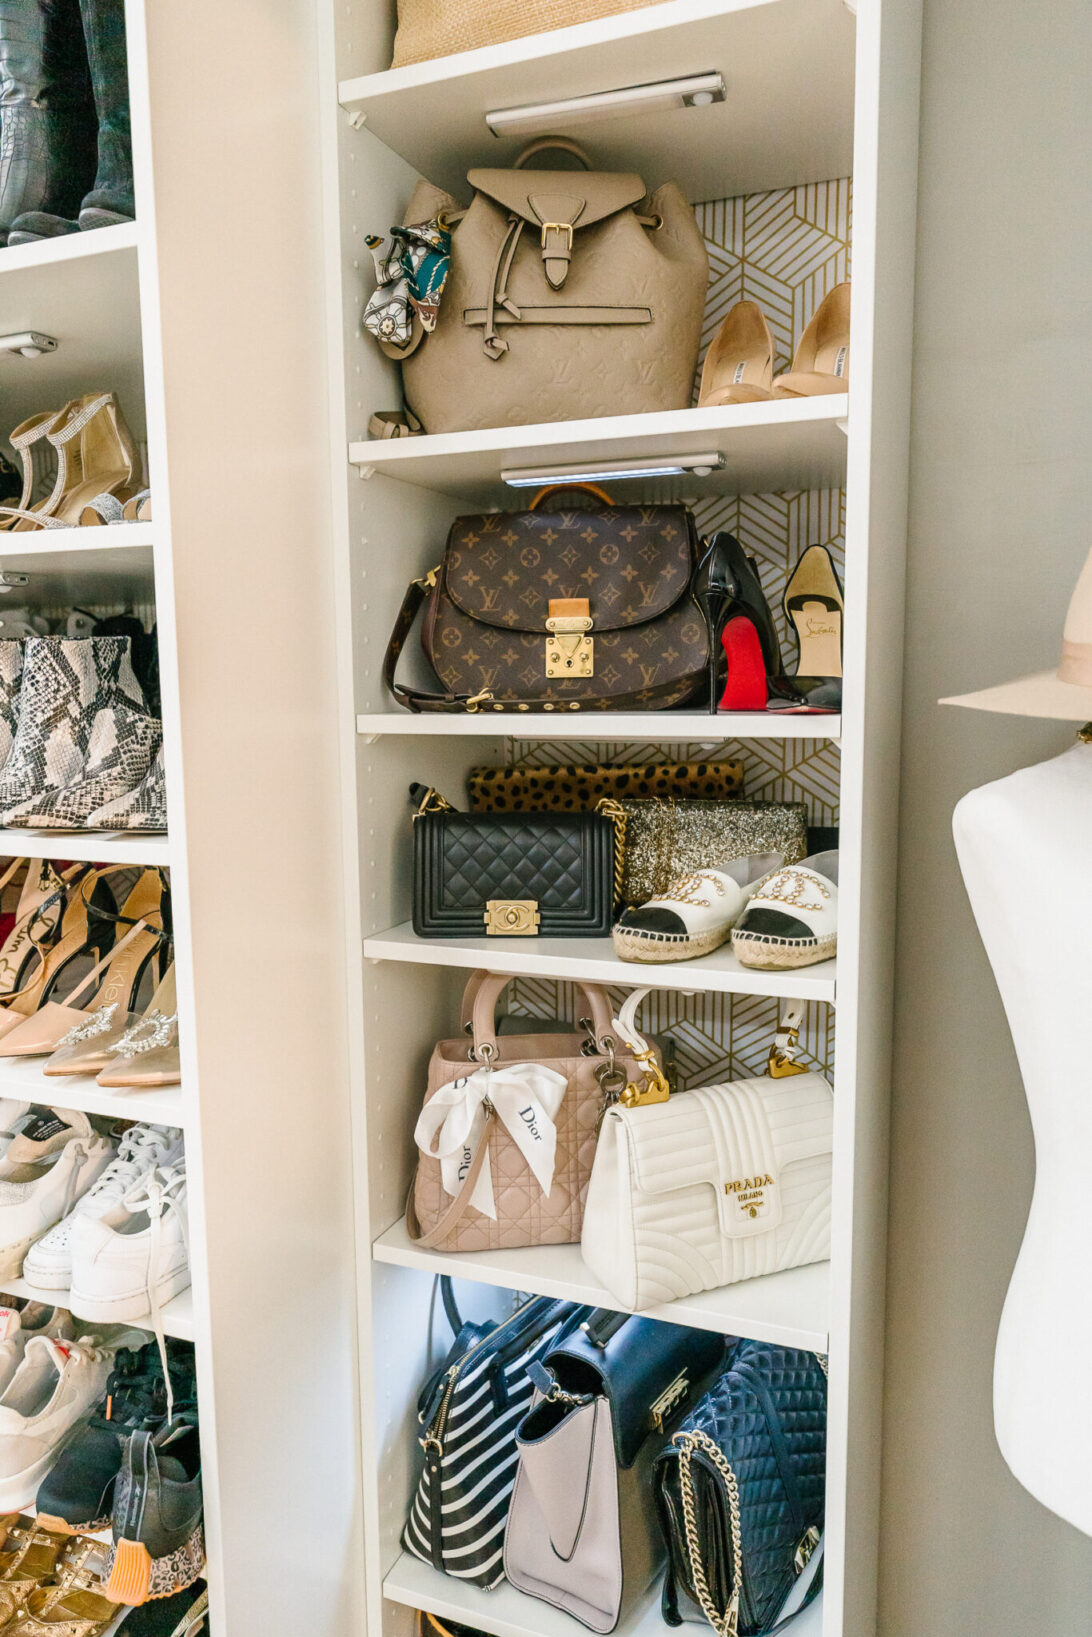
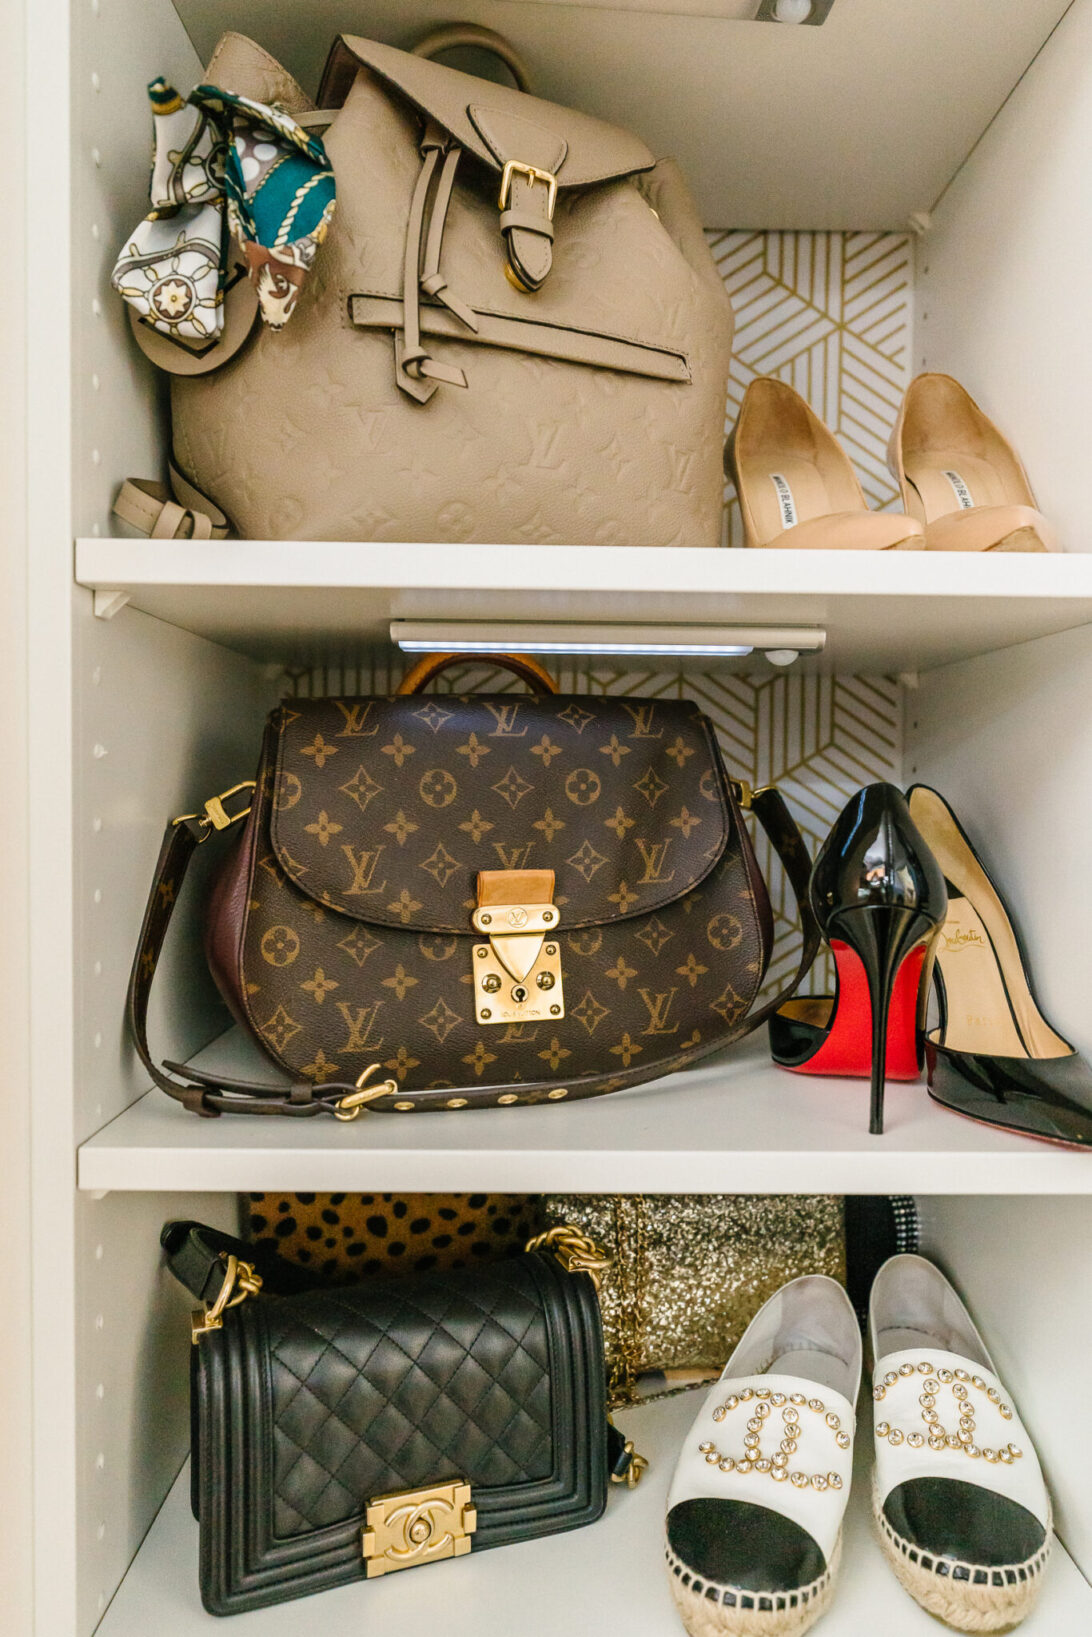
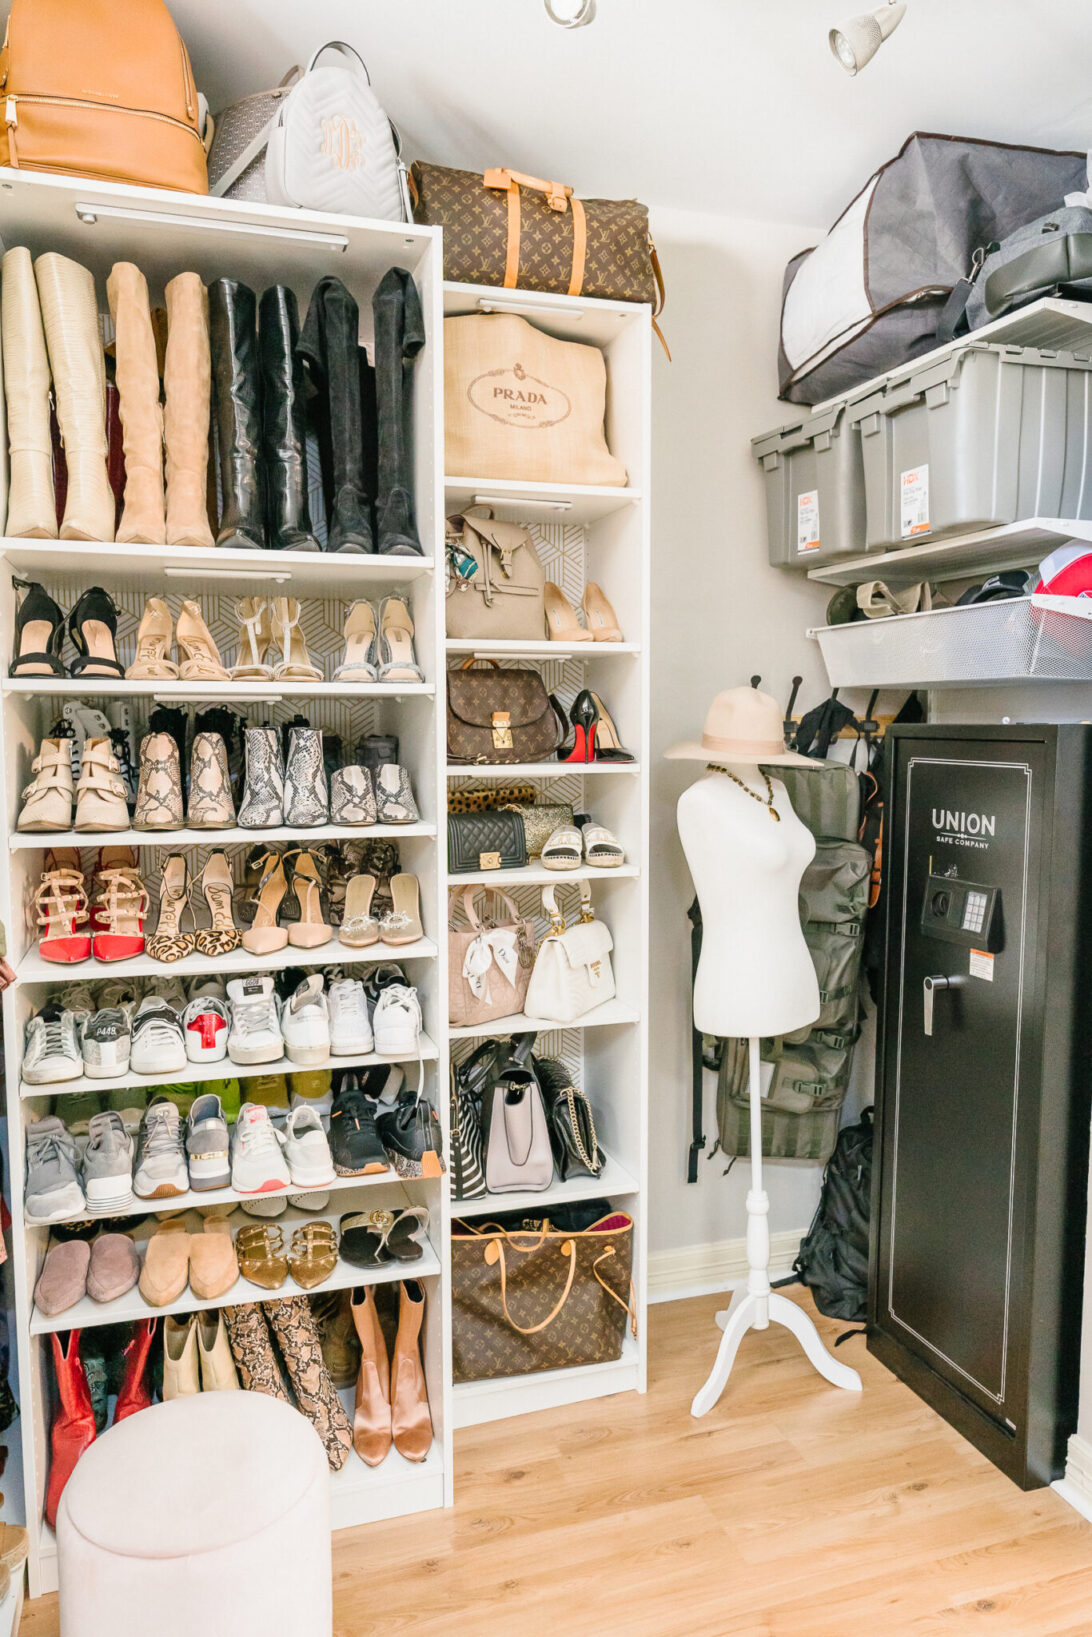
For my shoe space in our master closet renovation I needed the deeper 22 inch unit so I could double up my shoe storage. We also utilized the space beneath the clothes to add coordinating shoes for the season. Next to my shoe shelves I did a smaller depth display shelves for my bags. I wanted to make sure we could access our safe and all of Josh’s work things on the other side of the wall without making it too crowded. We also wallpapered our closet system for a more elevated look. I found this peel and stick wall paper for a great price, and it was really easy to do on my own.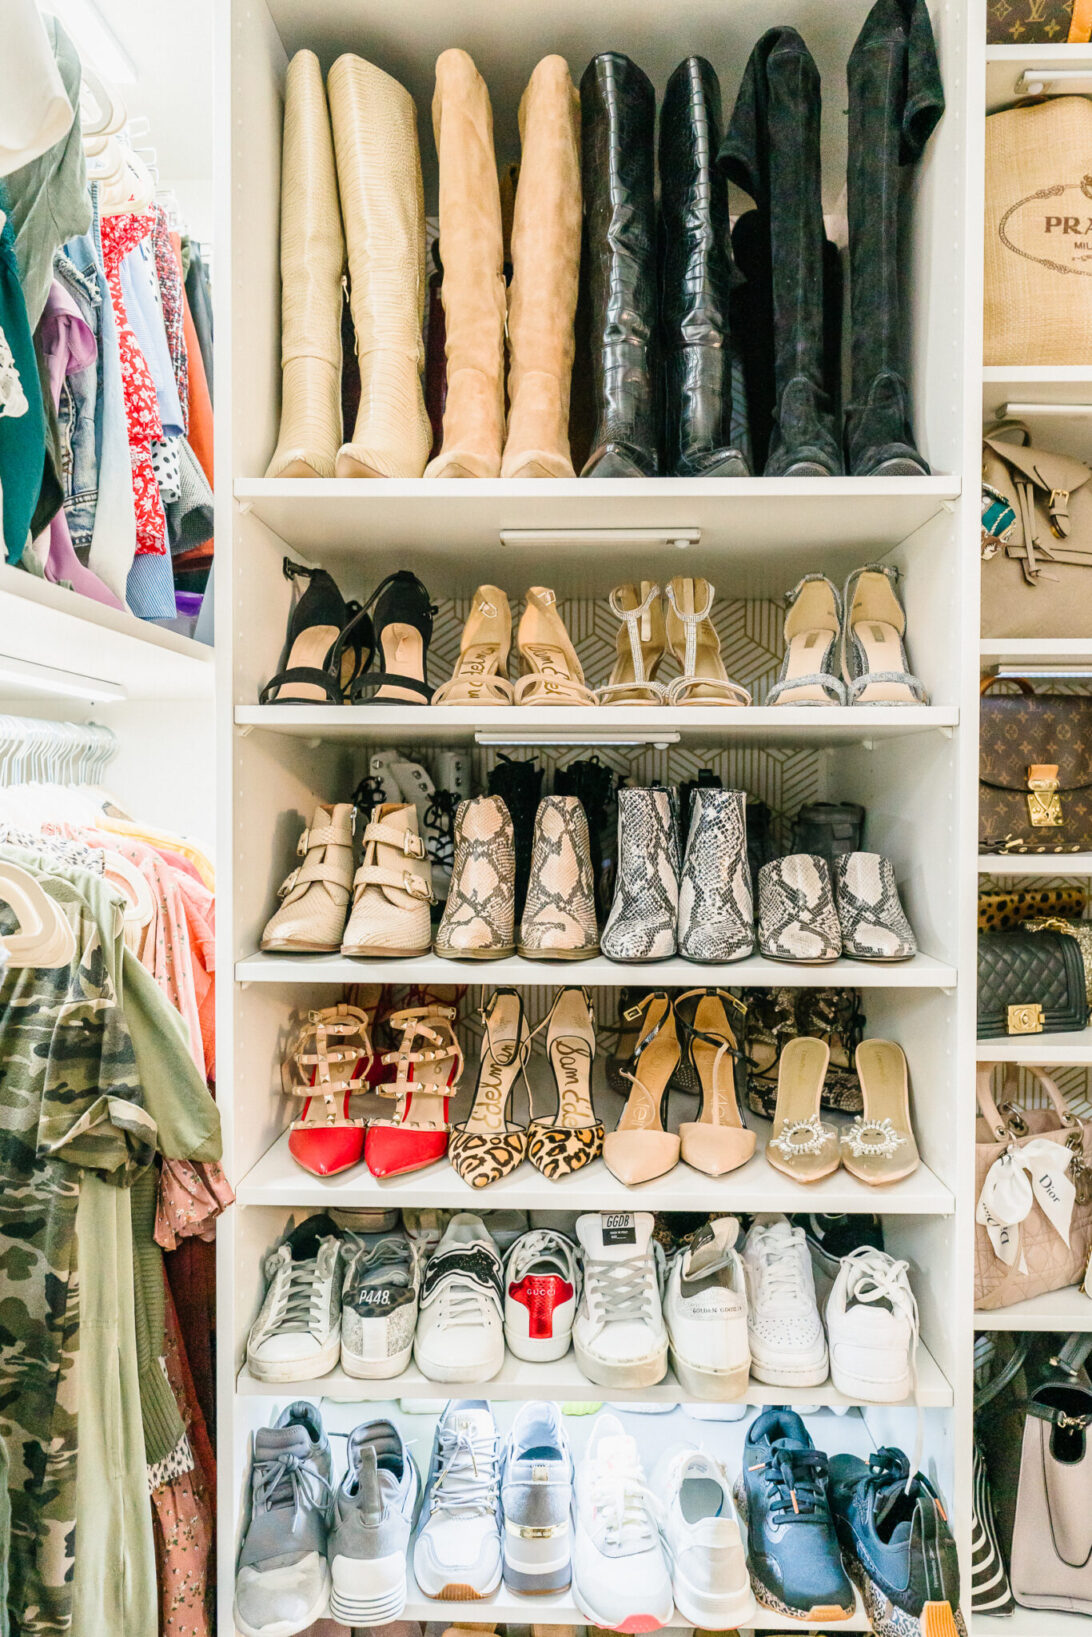



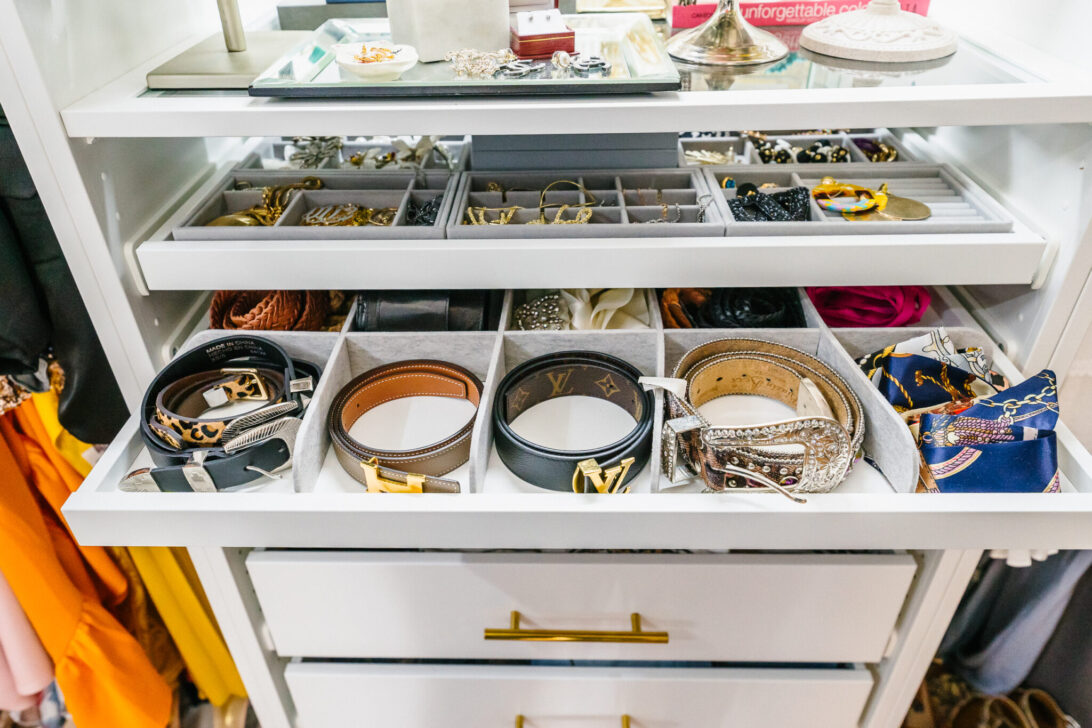
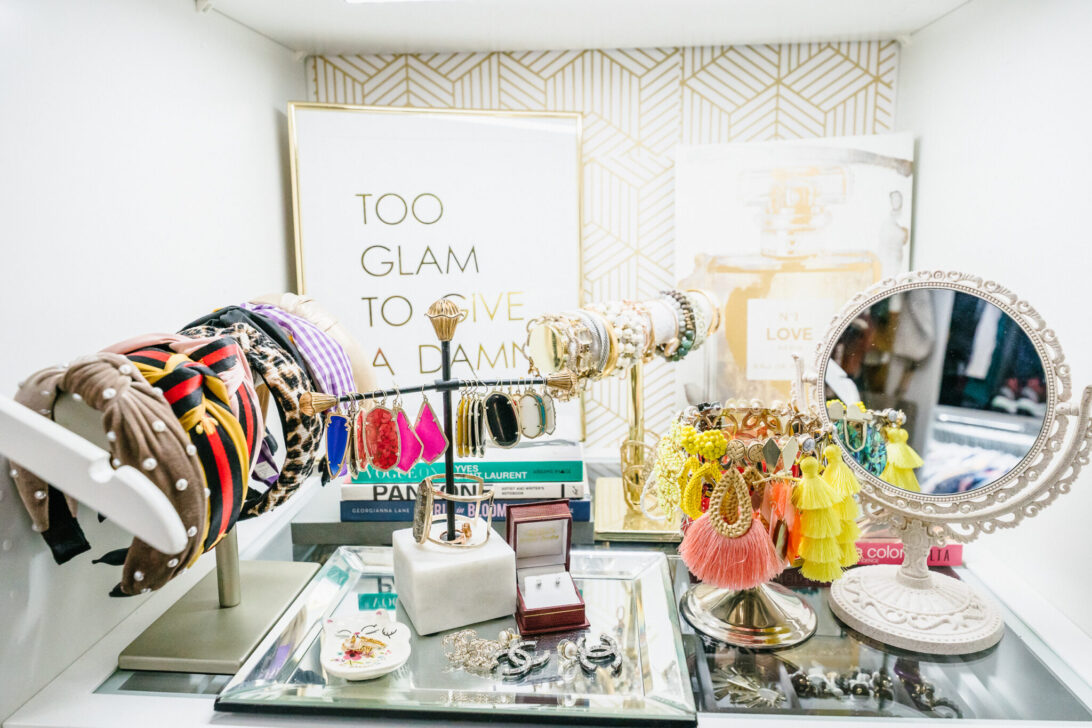
Another thing that I made sure to get was the Pax pull out tray for my all my accessories. I love how easy it is to see all my accessories. I bought these stackable organizers for my jewelry and the vintage plastic mirror to put on my display stand.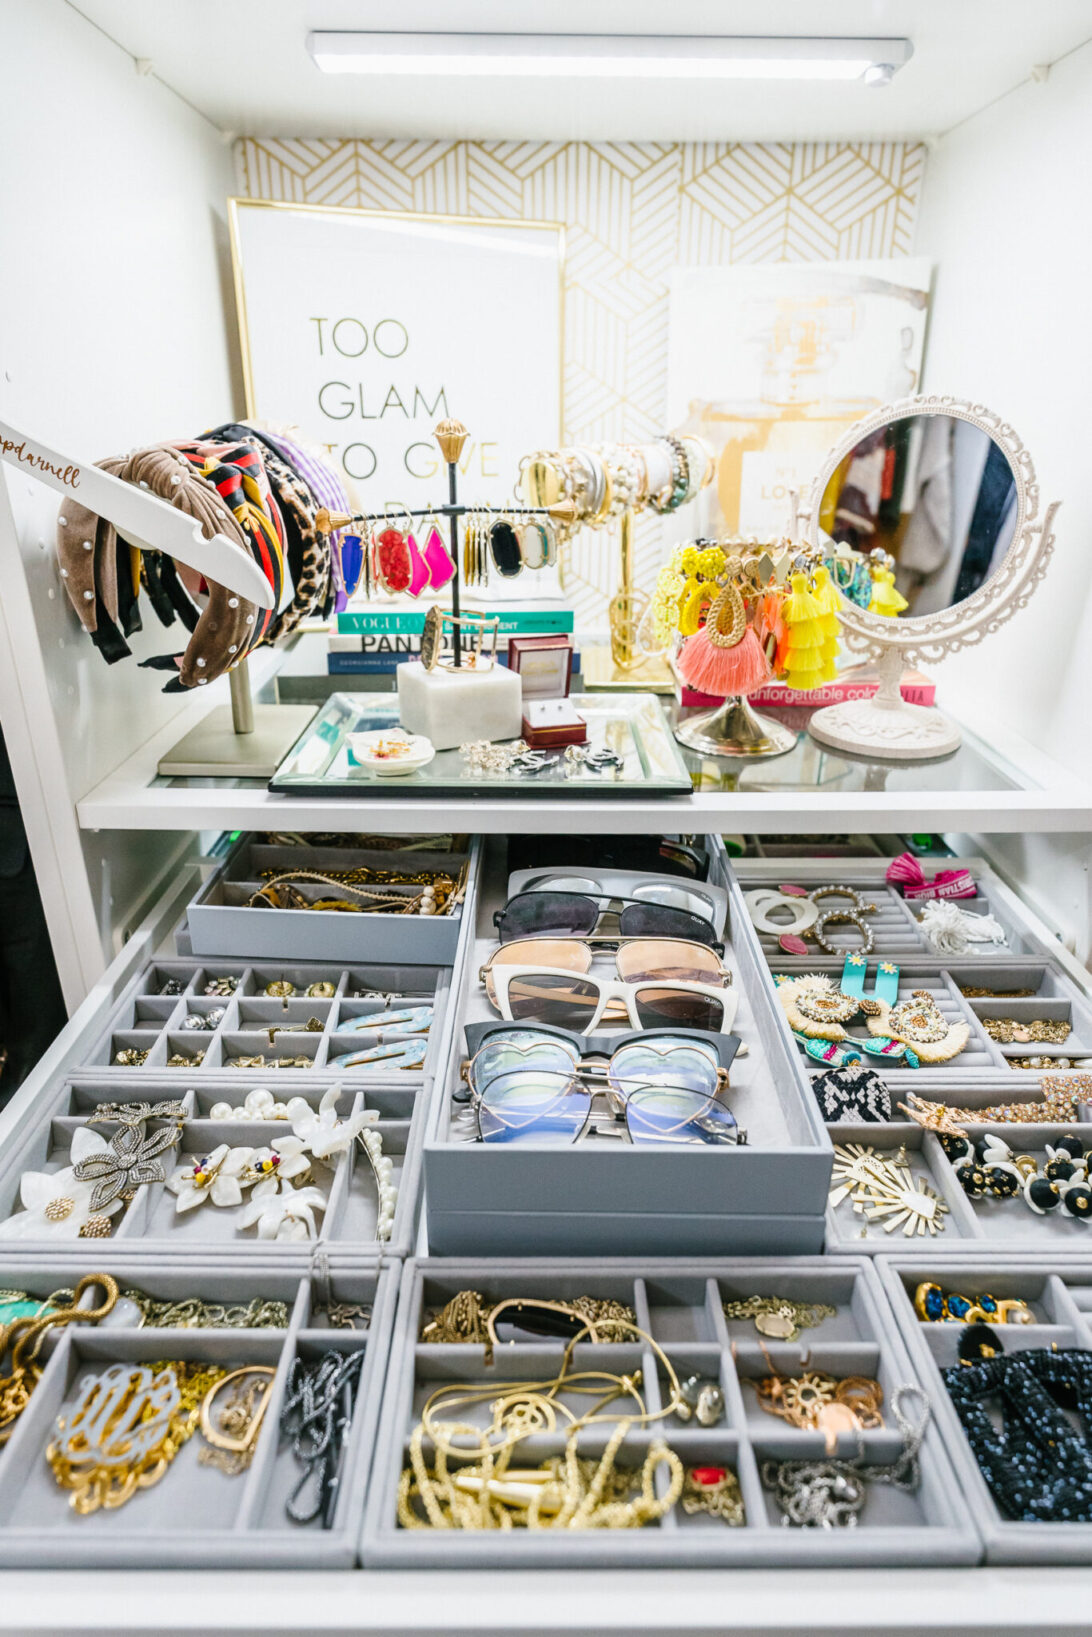

SHOP THIS POST:
I hope you enjoyed this post of our master closet renovation and found it helpful in your future renovation. I am currently working on a Youtube video close tour with a more detailed look so stay tuned! Thanks for stopping by!

P.S. Subscribe for weekly newsletters so you never miss a single post!
Photos by BanAvenue Photography




One thought on “Our Master Closet Renovation – Ikea Pax Closet System”
Comments are closed.